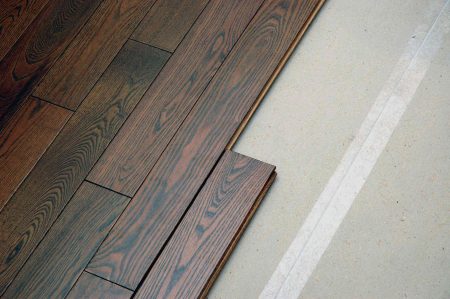
Cement backer board is a boon to homeowners and home professionals alike. Embedded with a glass-fiber mesh, this thin, cementitious board acts as an underlayment for wall and floor tile installations and for floor coverings of many types.
One of the chief advantages of working with cement backer board is that it is easy to cut. You have several methods for cutting cement board at your disposal.
Methods of Cutting Cement Backer Board
Depending on the project, the tools you own, and your own inclination, you have at least three different ways to cut cement backer board. One method is entirely manual—no power tools needed—and works best for straight cuts. The other two methods require power tools and can help you make straight or curved lines and even holes.
Using a Utility Knife and Straightedge
If you have ever cut drywall with a utility knife, most brands of cement backer board can be cut the same way. Using the straightedge to guide the utility knife, you lightly draw the knife across the board. Then, turn the cement board over, fold one side of the board up, and complete the cut.
-
Clean and produces very little dust
-
No doubt the line is straight
-
Can’t be used for partial cuts
-
More difficult to cut curves or holes
Using a Power Saw or Grinder
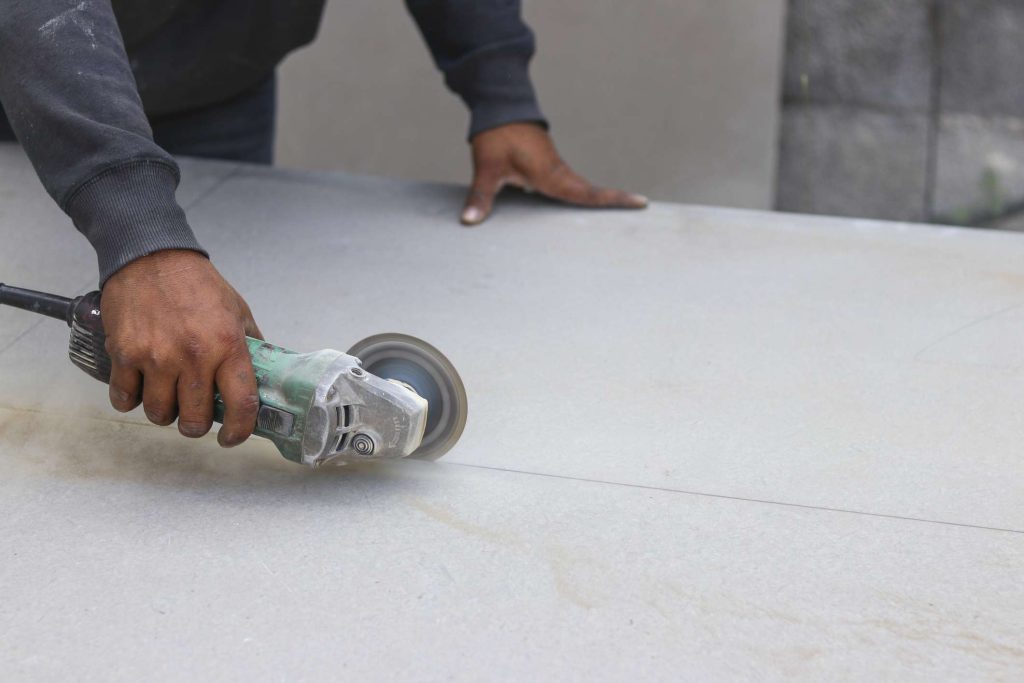
Cement backer board can be cut with an electric circular saw or an angle grinder, both equipped with a masonry cutting disc.
-
Cut faster with less physical effort
-
Can cut curves
-
Produces a great amount of dust
-
Requires a special disc for cutting
Using a Drill
A corded or cordless electric drill can be fitted with a carbide-grit hole saw to cut round holes in the cement backer board, a common task when building a bathtub or shower.
-
Cuts perfectly round holes
-
Can cut holes in ceramic or stone tile as well
-
It only cuts round holes
-
Holes are limited to a maximum diameter of 4 5/8-inch
Safety Considerations
Dust produced by cutting cement backer board may contain respirable crystalline silica. Prolonged breathing of silica dust may cause lung disease. Always use a power saw equipped with a dust-collection device. Cut outdoors, whenever possible, and always wear a NIOSH/OSHA-approved dust mask or respirator.
What You’ll Need
Equipment / Tools
- Utility knife
- Spare knife blades
- Straight edge ruler (metal)
- Corded or cordless drill
- Multi-purpose carbide grit hole saw
- Angle grinder
- Masonry cutting disc
- Hearing protection
- NIOSH/MSHA approved mask
- Eye protection
- Speed Square
Materials
- Cement backer board
Instructions
Cutting Cement Board With a Utility Knife
-
Place the Straightedge
Because the straightedge will be used for cutting, it must be metal, not wood or plastic. Lay the straightedge on the cement backer board, along the intended cut line.
-
Score One Side of the Board
With a fresh blade in the utility knife, draw the knife along the cut line. You do not need to press hard. You only need to create a score line, not a full cut.
-
Turn the Board Over
Turn the cement backer board over so that the former top is now facing down. Turn the board carefully to avoid accidentally breaking it along the score line and ripping out mesh from the board.
-
Make the Second Cut
Fold the smaller of the two sides up at about 90 degrees. Place the tip of the blade in the “V” section created by the fold. Lightly score the line to cut the fiber mesh. Separate the two pieces.
Cutting Cement Board With a Power Saw or Grinder
-
Prepare the Saw and Work Area
Because high revolutions-per-minute (RPM) create more dust, use a low RPM circular saw or grinder or set a saw to a lower RPM setting. Use a carbide-tipped blade. Wear full personal protection.
-
Create a Line on the Board
With a straightedge and pencil, draw the intended cut line. Or draw a freestyle line if this is intended to be an irregular or curved line.
-
Cut the Backer Board
Turn on the saw or grinder. Slowly move the blade across the backer board, following the line. The blade should fully penetrate the board, similar to the way you might cut wood with a saw.
Cutting Cement Board With a Drill
-
Mark the Cement Board Cut Point
Use the pencil or an indelible marker to mark a dot at the center of the intended circle cut. Draw a circle with the Speed Square around the dot to make sure that the circle is at the correct spot.
-
Fit the Hole Saw on the Drill
Chuck the hole saw into the cordless drill or corded drill. Run the drill briefly to make sure that the hole saw is chucked into place correctly and does not wobble.
-
Make the Circle Cut
Place the pilot drill bit (attached to the hole saw) on the marked spot. Run the drill slowly until the teeth on the saw catch and begin to grind out a circular groove. Keep light pressure on the drill as you continue to grind out the circle. Toward the end of the cut, reduce the pressure slightly and let the hole saw complete the cut.
Read the full article here


