Attaching wood to concrete is one of those projects that occasionally comes up during remodeling projects. For example, if you are building partition walls in the basement or in a home with a slab-on-grade foundation, you will need to attach wood sole plates to serve as the base for the wall studs. Professional carpenters often use a powder-actuated nailer for this—a tool that fires special nails through the wood and into the concrete, using 22-caliber gunpowder cartridges. If you expect to be doing a lot of concrete nailing, you may want to consider investing in a powder-actuated nailer.
But if you have only a few nails to drive, driving them with a hammer is much more cost-effective. There are special hardened nails to use for this application, which are quite different than the nails used with a powder-actuated nailer. Concrete nails are made of high-carbon hardened steel and have fluted shafts that help them sink into the concrete. You can also use masonry nails, which have a square cross-section and are tapered from the head to the tip. Masonry nails are cheaper than concrete nails and are less likely to break or bend.
Before You Begin
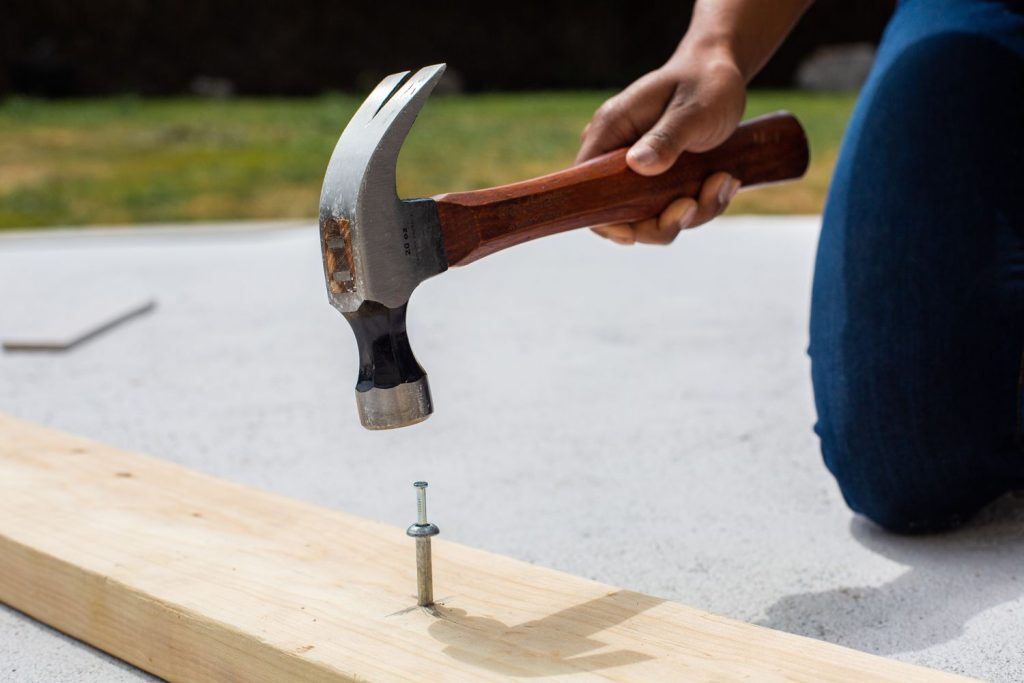
When hammering concrete nails or masonry nails, it’s best to use a framing hammer, which is heavier and more substantial than a standard claw hammer. With its added weight and milled face (checkerboard ridged head), a framing hammer makes the job easier, though note that damage may occur on the milled face of the hammer, as concrete nails are much harder than regular framing nails. Even with this heavier hammer, you will need to drill pilot holes for the nails. This is best done with a hammer drill and a masonry bit that is the same diameter or slightly smaller than the nails you’re using.
When nailing lumber to concrete, make sure to use pressure-treated wood. Standard lumber can rot due to moisture that wicks through the concrete over time.
Safety Considerations
Many DIYers fail to use hearing protection and eye protectors when using hand tools, feeling that only power tools warrant this level of caution. But any time you are using a hammer or other impact tool, it’s a good idea to use basic safety equipment. A hammer can easily break a nail—especially the brittle, hardened steel of a concrete or masonry nail—and send it flying through the air. There are also instances where the face of a hammer can chip and send a shard flying. The sound created when pounding nails can also damage hearing over time, so don’t overlook hearing protectors for all phases of the work—not just when drilling pilot holes.
Make sure to wear a particle mask when drilling in concrete, as cement dust can be damaging to the lungs.
Click Play to Learn How to Drive Nails Into Concrete by Hand
What You’ll Need
Equipment / Tools
- Hammer drill (or standard drill)
- Masonry drill bit
- Pencil
- Eye protection
- Hearing protection
- Framing hammer
- Shop vacuum
Materials
- Concrete nails or masonry nails
- Particle mask
Instructions
-
Drill Pilot Holes in the Board
Begin by drilling a pilot hole through the board at each location you are nailing. When the board is penetrated, continue to drill for a few seconds in order to mark the concrete. Outline the position of the board on the floor with a pencil.
-
Extend the Pilot Holes into the Concrete
Remove the board, and vacuum away any dust from each hole. Now, bore a pilot hole into the concrete at each location, using a masonry bit that is the same diameter or slightly smaller than the nails you’ll be using. The drilling will go quicker with a hammer drill, but a standard drill will also work. Drilling concrete generates a lot of heat, so use a slow drill speed and take frequent breaks to let the bit cool down.
-
Vacuum out Pilot Holes
Concrete dust created by the drill bit will clog the hole, making it impossible for the concrete nail to penetrate all the way. Concrete dust is heavy and tends to congregate at the bottom of the hole. So press the vacuum nozzle directly onto the hole for a few seconds to make sure that all dust is gone. Do this frequently during the drilling process.
-
Drive the Nails
Reposition the board over the pilot holes, aligning the board with the marks on the floor. Insert concrete or masonry nails into the holes, and drive them flush to the surface of the wood using a framing hammer.
Be careful not to bend the nails as you drive them. If the nail stops before its head reaches the surface, no amount of pounding will help. Instead, remove the nail and drill deeper or widen the hole. Vacuum out the hole, then try nailing again.
Read the full article here


