For most homeowners, installing a floor means replacement. Those clear, uncomplicated expanses of fresh plywood or OSB subfloor that flooring contractors get to work with are rarely seen by most homeowners. Instead, the starting point is usually another type of floor covering: wood, laminate, tile, or vinyl.
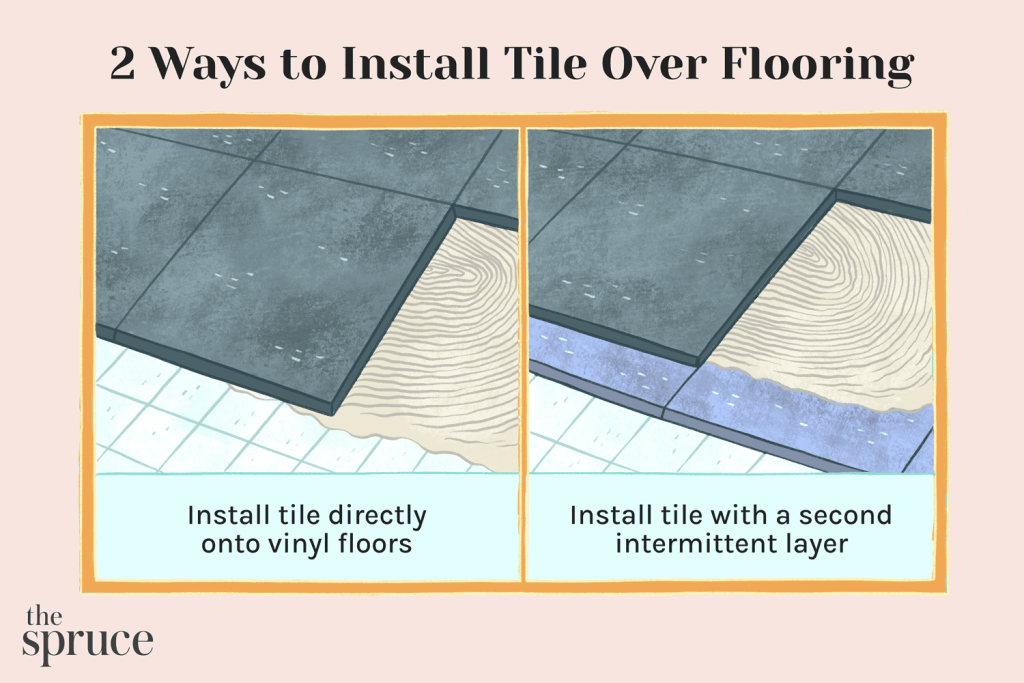
Installing new flooring is hard enough that any time-saving measures are welcome. If your current floor is resilient flooring, you might be in luck. Where feasible, it sometimes makes sense to install the new flooring directly over the old flooring, skipping the complicating factor of first removing the old flooring. As long as it’s in good condition, sheet vinyl flooring, glued-down tile vinyl, or linoleum can work as a substrate for installing ceramic flooring.
Before You Begin
Make sure your floor is suitable for accepting ceramic tile. Even if the resilient flooring is acceptable, the subfloor and joists that comprise the floor structure must also be in good condition, with minimal flexing and deflection. This ensures that the floor will hold up under the substantial weight of cement-board underlayment and ceramic tile.
When to Avoid Tiling Directly Over Vinyl Flooring
Floor Will be Too High
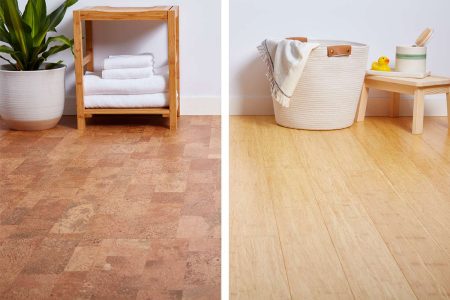
An additional layer of flooring applied directly over the old floor will make it thicker and raise the overall height of the flooring. Since vinyl flooring is so thin—12 mm at most—this is less of an issue than with laminate, engineered wood, or solid hardwood flooring.
Still, even with vinyl flooring, the extra floor thickness can sometimes cause problems along the baseboard trim or at door frames.
Vinyl Floor Not a Suitable Base
While standard sheet vinyl that is well bonded usually makes an acceptable base for ceramic tile, that’s not true of all forms of resilient flooring. Loose-lay (perimeter-bond) sheet vinyl can shift beneath the new flooring, making it unsuitable as a base for ceramic tile.
Resilient flooring with a cushioned base will not work under ceramic tile. Most luxury vinyl planks are not suitable for tiling over because this flooring typically is laid as a floating floor, with no adhesive. This means the flooring can possibly shift beneath the tile, likely causing damage to grout joints.
What You’ll Need
Equipment / Tools
- Bucket and mop
- Breathing protection
- Hearing protection
- Eye protection
- Oscillating sander
- Utility knife
- Cordless drill
Materials
- Sandpaper
- TSP cleaner
- Thin-set adhesive
- Screws
- Leveling compound
Instructions
-
Assess Floor
Soft, thin, or damaged subflooring or undersized joists can flex too much, leading to cracked tile and grout joints.
If the subflooring is thin and lacks stiffness, one remedy is to install a layer of new plywood subfloor over the resilient flooring, followed by a layer of thin cement board.
-
Check For Asbestos (Optional)
Vinyl flooring manufactured before 1975 may have some amount of asbestos as part of its composition. This type of flooring should not be sanded.
If you suspect asbestos, send off a small sample to a testing lab for evaluation. If the test comes back positive for asbestos, do not sand the flooring. The best solution in this circumstance is to cover over the asbestos flooring with a thin layer of plywood underlayment before putting down cement board and ceramic tile. Alternately, you can hire an asbestos-removal company to safely remove all the flooring.
-
Spot-Repair Floor
Check for protrusions such as nails, and pound them back into place. If any parts of the vinyl or linoleum flooring have begun to bulge up, slice out the bulge with a utility knife.
-
Level Out Areas
Pour floor leveling compound on any large slopes or dips in the floor.
-
Sand Flooring
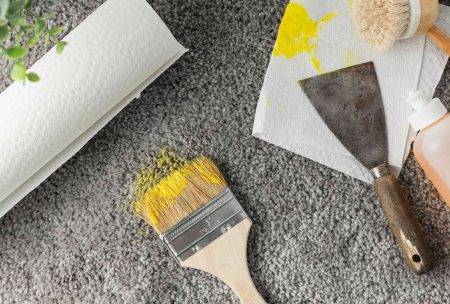
Wearing breathing and eye protection, lightly sand the vinyl flooring with an oscillating sander. This creates some texture for the thin-set adhesive to bond to. If the room is small enough and you do not mind getting on your knees, you don’t need to rent a floor sander—you can use any power hand sander, such as a random-orbit sander.
-
Clean Floor
Clean the vinyl floor thoroughly with TSP to remove dirt, soap, and oil residue. The floor needs to be as smooth as possible to accept the thin-set adhesive. Let the floor dry completely before continuing. Next, thoroughly clean the vinyl with plain water and let it dry. It must be free of dust, dirt, and any oily residue.
Read the full article here
