Stair nosing strips can add a decorative touch to the stairs and help to improve the overall performance and safety of the staircase. Stair nosing strips protect the edges of the treads from wear and damage, preventing chipping and cracking. Installing a stair nosing strip is an easy do-it-yourself project that takes just a few minutes.
What a Stair Nosing Strip Is
A stair nosing strip, also called a stair nose or edging strip, is a length of aluminum or plastic that protects the leading edges of stair treads that are not already protected by a built-in bullnose or rounded edge.
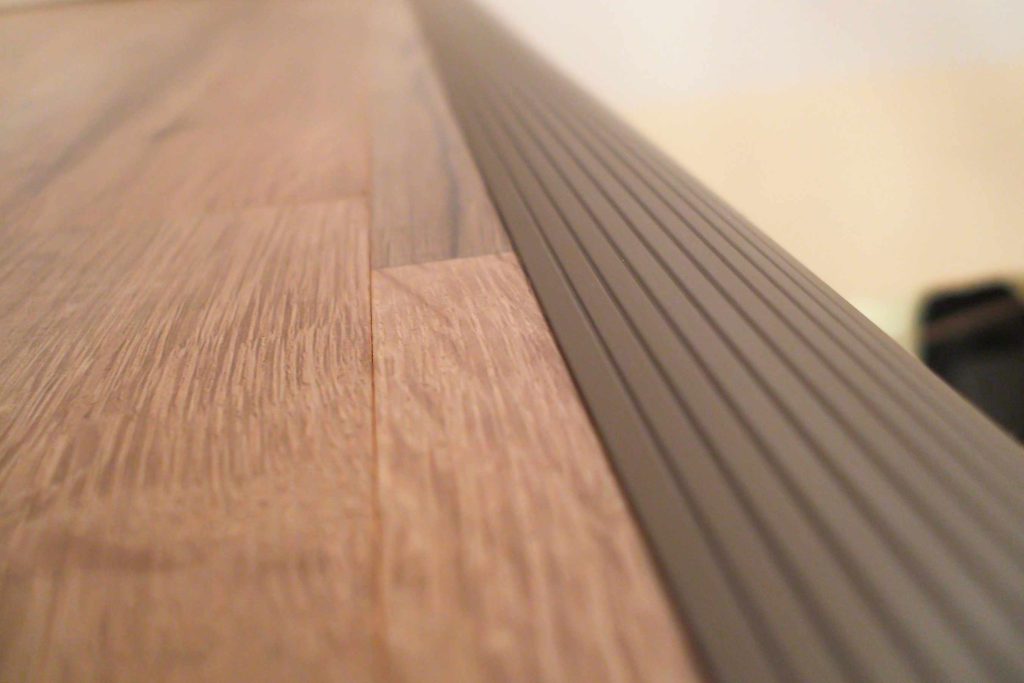
When viewed from the side, most stair nosings have an L-shaped or 90-degree profile. This shape allows the strip to wrap around two surfaces: horizontally across the top edge of the stair tread and vertically down over the riser. Some stair nosing strips’ L-shape is curved on the front to conform with bullnose-shaped stair treads.
Nosings provide stair treads and risers with a finished look. They also help protect the edges of the steps from damage. Since most stair nosing strips have a fluted or grooved texture, they create a non-slip surface for the foot.
Finally, the slight lip prevents the foot from slipping off a tread and provides a physical indicator of the tread’s location.
What You’ll Need
Equipment / Tools
- 1 tape measure
- 1 pencil
- 1 hacksaw or tin snips
- 1 electric drill
- 1 caulk gun
- 1 hammer
- 1 drill bit set
- 1 metal file (as needed)
Materials
- 1 stair nosing strip kit
- 1 tube adhesive caulk
Instructions
-
Measure the Stair
Using a tape measure, measure the width of the stair tread. If the stairs are open on one or both sides, you can simply set the nosing in place and mark where to cut it.
-
Cut the Stair Nosing Strip
Mark the width on the stair nosing. Cut the nosing to length. With metal stair nosings, preferably use a hacksaw. For plastic stair nosings, use a hacksaw or tin snips. Saw carefully to avoid leaving metal burrs along the cut edge, as aluminum is prone to this. If you see burrs, use a metal file to remove them and smooth the edge.
-
Dry-Fit the Stair Nosing Strip
Test the fit by placing the strip tightly on the leading edge of the stair tread. The strip has a flat side with nail holes and a curved side. The curved side will rest against the riser (front) of the stair. The flat side will rest on top (the tread) of the stair.
-
Pre-Drill the Pilot Holes
On many stairs you may be able to simply pound the nails into the stair material. In some situations, such as encountering some solid hardwood flooring types, thick laminates, or tile require a different approach. You may have to pre-drill the nail holes to successfully penetrate the hard layers, underlayment, and subflooring.
In these cases, transfer the location of the nosing strip’s holes by marking them on the step with a pencil. Remove the nosing strip.
For hardwoods, laminates, or other hard surfaces, simply drill a pilot hole in each location using a drill bit that’s slightly smaller than the nails’ diameter.
-
Add Adhesive Caulk
Although it’s not required in all situations, applying a small bead of adhesive caulk under the stair nosing provides additional strength. Run a 1/4-inch to 3/8-inch bead of adhesive caulk on the inside of the angle on the nosing strip.
-
Install the Stair Nosing Strip
Place the nosing strip in its final location. Nail it in place, working from one end to the other. Immediately wipe away any excess adhesive that may have squeezed out. Be careful to hold down the loose end of the stair nosing strip to make sure that it remains in place.
Warning
Be sure to install nosings on all of the steps. Steps are safest when they are identical. Installing nosing on some steps and not others creates a trip or slip hazard.
When to Call a Professional
Installing a stair nosing strip is generally a simple process, and it is possible for most do-it-yourselfers to do it themselves. Installing stair nosing strips on an entire staircase can be a time-consuming process, so hiring a professional may be a good option.
Read the full article here


