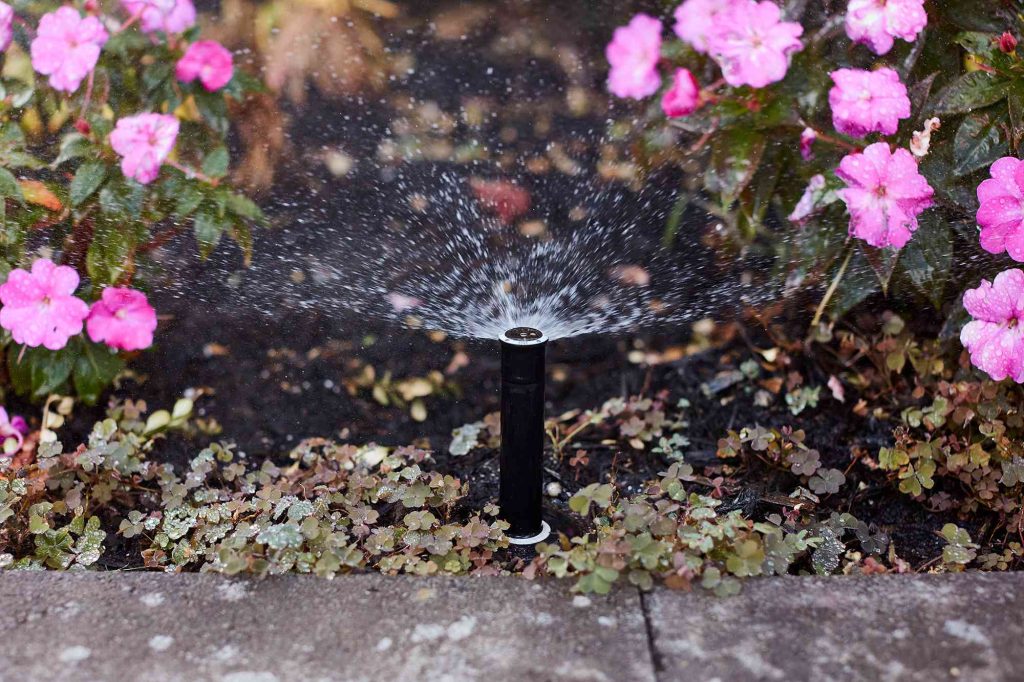
In cold climates, underground sprinkler systems can freeze and burst in winter unless the lines are drained or blown free of water. An easy way to drain those irrigation lines is to install automatic drain valves. This is as easy as adding tee-fittings in the lower parts of the sprinkler system. If you live in an area where freezing sprinkler lines can be a problem, automatic drain valves could be the answer.
If you have an existing sprinkler system, it can be challenging (if not impossible) to determine where to install the automatic drain valves, as low points in the system can be difficult to find. Most homeowners are better off sticking with the more traditional method of blowing down the irrigation lines before winter arrives to remove any water.
You can invest in a small compressor and do this yourself, if desired, for a more reliable method of keeping your sprinkler system from freezing. If you have a new sprinkler system, though, or if you have an accurate map of the system, installing automatic drain valves may work for you.
Two or three automatic drain valves per sprinkler valve are usually recommended in each zone if it branches off in different directions. Auto drains will work in almost all soil types, except maybe clay, and some even have back-flow preventers built in to stop any contamination from getting into the line. A cloth-like filter material usually covers the outside of the auto drain valve to prevent any dirt or debris from getting into the valve.
Because most pressurized water supply lines outside of the house, including those for irrigation lines, are installed below frost level, they are not prone to freezing. But the actual sprinkler lines are usually shallower and have to penetrate the surface, where the soil is typically colder. An automatic drain valve in these lines can help by draining the water down and out of the pipes before it can freeze. Here is a quick overview of how to install an automatic drain valve in a sprinkler system.
What You’ll Need
Equipment / Tools
- Shovel
- Pipe saw
- Pen (optional)
- Paper (optional)
- Measuring tape (optional)
Materials
- Automatic drain valves
- Tee fittings
- Plumber’s glue
- Plumber’s tape
Instructions
-
Turn off Water
Turn the sprinkler system off at the valve for the various zones.
-
Mark Locations for New Auto Drains
Figure out where the low spots are on the line and plan on putting auto drains there. If the sprinkler line branches out in multiple directions, then you will need multiple automatic drains to cover the different areas. A minimum of two or three is recommended in each zone to ensure proper drainage.
-
Expose Sprinkler Lines
Dig up the area around the designated spots to expose the sprinkler lines for installing each tee fitting. Most automatic drain valves are 1/2-inch male threaded fittings, but they do come in bigger sizes if needed. Get the proper threaded tees and auto drain valves needed for your application.
-
Connect the Tee Fittings and Valves
Thread each auto-drain valve into the tee before gluing the tee onto the pipe. Using plumber’s tape on the threads will make the valve will be easier to remove in the future and will also help seal the joint.
-
Install the Tee Fittings
Cut the sprinkler line and install the tee with the attached auto-drain valve.
To install the tee, you may need to dig up a fairly large section of pipe to gain the access you need. Installing a tee in a new line is easy, but installing one in an existing sprinkler system can be a challenge. If you have limited room, the job is made easier by using specialty fittings, such as a compression coupling, telescoping coupling, or an adapt-a-tee.
-
Test the Automatic Drain Valve
Turn the irrigation system on and test the automatic drain valve while the hole is open to make sure the auto drain does its job correctly. Finding a faulty valve is rare, but it occasionally happens. Power up your sprinkler system, and then shut it off. You should see the auto valve drain once the pressure is off.
-
Draw a Sprinkler Map
Before burying the sprinkler line again, take some measurements and draw a map or add it into your sprinkler planogram, as a reminder of where all of the automatic drain valves are located. It may be years before you service the valves again, so it is a good idea to write the location down on paper. This could save you some unnecessary digging in the future.
Read the full article here
