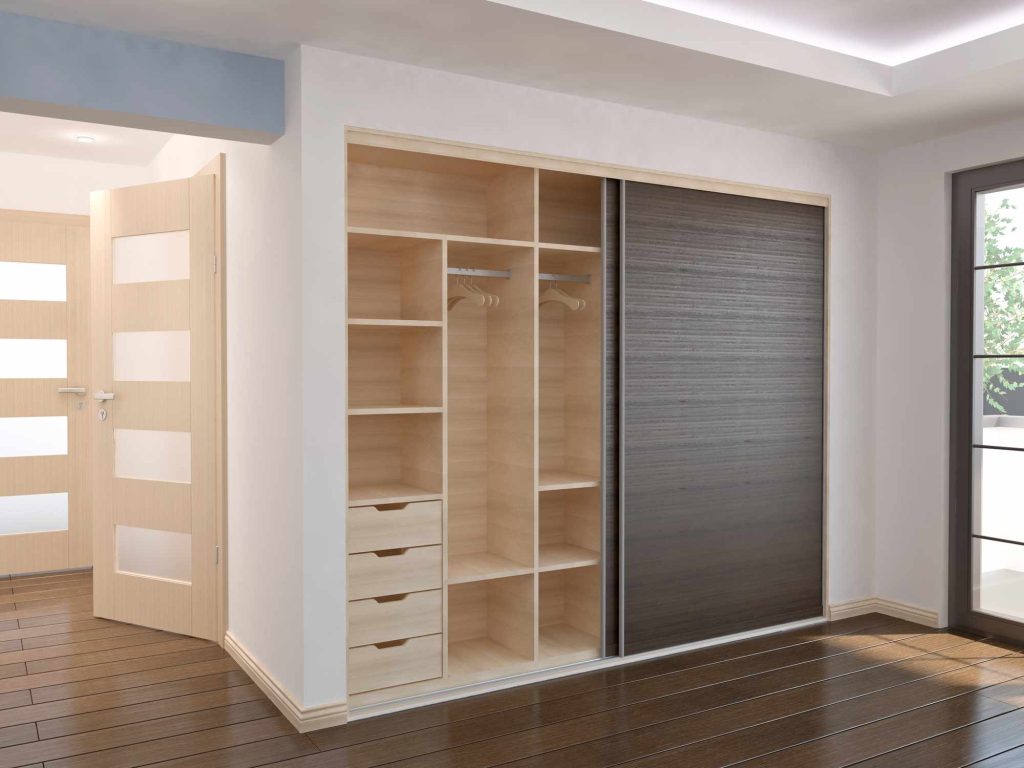
Installing a sliding closet door is a great way to keep clothes and other cherished items in your closet safe, fresh, and clean. One of the best things about sliding closet doors is that they stay out of the way. By sliding back and forth rather than opening like a hinged door, sliding doors can help you regain space in the bedroom.
Sliding Closet Door Operation and Installation
Sliding closet doors are twin doors that slide across a wide closet opening. The doors slide on a track at the top of the closet door. Another track on the floor helps the doors stay aligned.
The tracks are split into two parallel tracks: one track in front of the other. This permits one door to pass in front of the other. To open, one door panel is slid behind the other panel. So, even though the door opening is wide (usually around 80 inches), only half of that opening is available at a time.
Types of Sliding Closet Doors
Some styles of sliding closet doors have no bottom track. Either the doors hang freely or there is a small plastic guide to keep the doors in place. Most sliding closet doors are suspended by the upper track. Other styles slide through and are guided by an upper channel but are not suspended by it.
Depending on the type of sliding closet door you purchase, you may be able to choose your style of installation—offset or flush. Some homeowners like to position the doors at the center of the jamb, for a shadowed, offset look. Others like to position the doors forward so that the doors are flush or close to flush with the adjacent walls, for a smoother appearance.
Before Getting Started
If you currently have sliding closet doors, remove everything, including all of the tracks. Tracks usually are unique to each brand of sliding closet door. Remove all items from the closet, if possible. At the very least, remove items from the floor.
What You’ll Need
Equipment / Tools
- Hacksaw
- Cordless drill with a set of bits and drivers
- Pencil
- Hammer
- Tape measure
- Manual Phillips screwdriver
- Indelible marker
- Metal file
Materials
- Sliding closet door set
- Wood strip (optional for carpet installation)
Instructions
-
Prepare the Upper Door Jamb
Make sure that the upper door jamb (or door frame) is smooth, level, and free of nails or screws. Remove obstructions.
-
Measure the Door
With the tape measure, measure the door opening horizontally both at the top and at the bottom, as the two may differ slightly.
-
Cut the Tracks
With the indelible marker, make a small mark on the back of each of the tracks to the dimensions you just measured, less 1/8-inch. With the hacksaw, cut the tracks to length. Use the metal file to remove any metal burrs remaining on the cut ends.
-
Dry-Fit the Upper Track
Have an assistant help with this step. The assistant should hold the upper track in place as you assess its position. Center the track so that the 1/8-inch gap is split between each side (1/16-inch per side). Depending on your mode of installation, the track will either be near the front of the door jamb or toward the center. Make sure that you are holding the track in the correct position. Some tracks may have a front vs. a back side.
-
Install the Upper Track
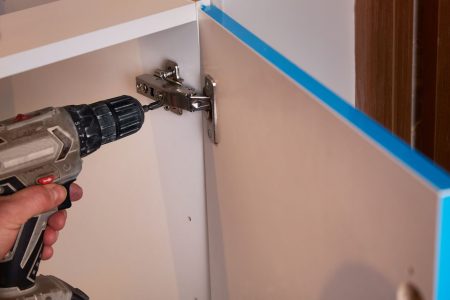
When you are satisfied with the position of the upper track, first pre-drill pilot holes and then screw the track into place.
-
Attach the Fascia
Some sliding closet doors will have a metal or plastic fascia strip that covers the front of the upper track. Usually, the fascia strip will snap into place.
-
Install the Bottom Track
Screw the bottom track onto the floor. If you have solid hardwood, engineered wood, laminate, or vinyl flooring, you can screw it directly onto the flooring.
If you have carpeting, purchase a 1/8-inch thick piece of wood with the dimensions of the lower track. Screw down the wood board, then screw the track onto the wood.
-
Install the Closet Doors
Stand inside the closet. Have your assistant tip the first door down to you. Pull the door slightly into the closet. Lift and hook the wheels on top of the door, onto the back groove of the upper track.
Swing the bottom of the door inward, toward the back of the closet. The spring-loaded guides at the bottom of the closet door should depress as they move over the high side of the bottom track. When they reach the track’s center groove, they should snap into place.
The doors can be adjusted to align properly with the vertical jamb edges. There are usually adjustment screws on the wheel assembly that allow for slight up or down adjustments. Turning the adjustment screws will cause the door edge to move into alignment with the door jamb.
Read the full article here
