When a home has structural issues such as sagging floors, a homeowner may immediately start worrying about five-figure repair bills. Given the vital nature of a home’s foundation, these thoughts are understandable. But in some cases, installing a set of lally columns can be a relatively easy fix in crawl spaces or basements for minor foundation problems.
What a Lally Column Is
Lally columns can be used temporarily to hold up extremely heavy structural weight when performing other repairs, such as major wall remodels or installation of new windows or doors.
Permanent lally columns are sometimes installed to correct structural problems. Local building code often allow lally columns to remain permanently in place.
The oldest form of lally column is a non-adjustable steel column cut down to size and filled with concrete. However, the term has come to encompass many other iterations of mobile steel columns: adjustable steel columns, teleposts, and jack posts.
Adjustable columns consist of two telescoping steel tubes, one inside the other, that adjust upward or downward to temporarily or permanently support an unsupported joist or beam.
Often erroneously referred to as a “lolly column,” this post was invented in the late 1800s by John Lally in Waltham, Massachusetts, as a fireproof, insect-proof means of supporting a building at its very lowest points. It was intended to be filled with concrete and installed for permanent structural support for loads up to 44,600 pounds.
Permanent vs. Temporary Lally Columns
Lally columns can be either temporary or permanent. Temporary columns are frequently used by workers to brace the joists of the floor above when removing a wall. Permanent columns are sometimes used under a house, in the crawlspace or basement, to shore up the structure.
Adjustable Range of Lally Columns
Lally columns typically range from about 3 feet to 14 feet tall. The shorter the column, the greater the weight it will support.
For example, a 6 foot long, 4-inch diameter column has a maximum weight rating of up to 21,300 pounds. Increasing the length of the column drops its weight rating to 10,200 pounds.
Non-Adjustable Lally Columns
Because one type of lally column is non-adjustable, the steel column must be cut to fit the needed space.
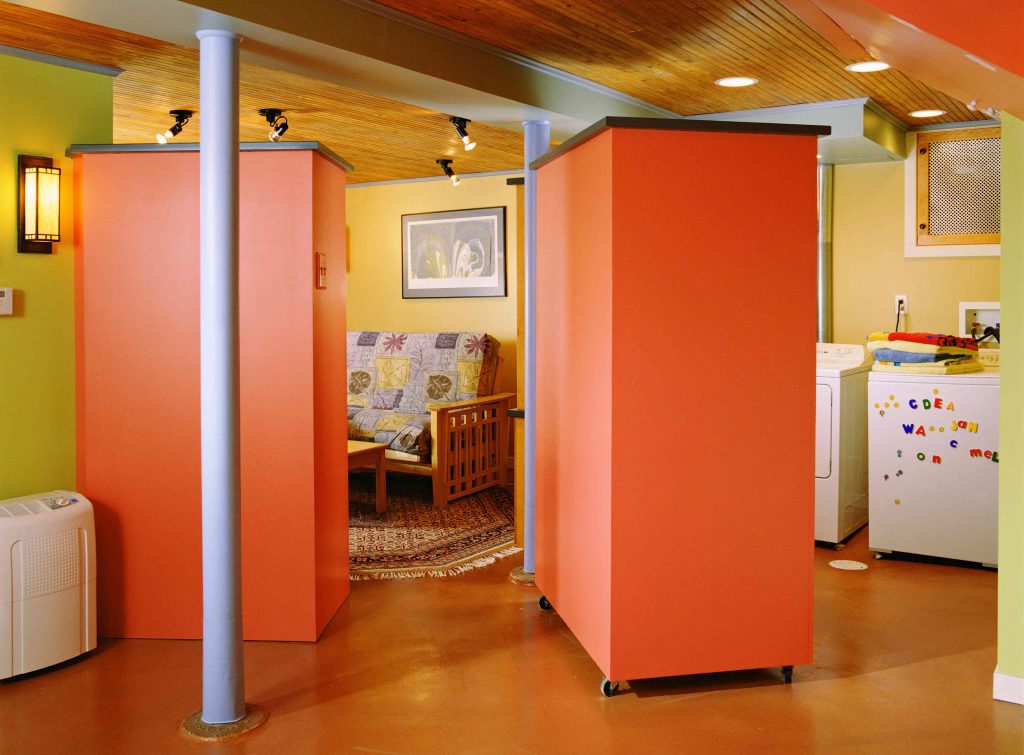
Typically these columns are sized at 11 gauge steel with a 4-inch diameter, though smaller diameters are sometimes available. When used in a finished basement, these columns can be boxed in with wood and drywall or left exposed.
Exposed columns can be painted. Many lally columns come in primed condition, ready for painting.
How to Install a Lally Column
These installation instructions assume that you will be setting up an adjustable steel lally column on a solid concrete floor footing and under a solid load-carrying beam such as laminated veneer lumber (LVL) beam.
-
Measure the Space
Measure the vertical distance to be spanned. Within each class of lally column, there is an adjustment range for the machine screw assembly. A typical adjustment range is usually four inches. For example, if you need to support a beam that is eight feet tall, you would purchase a lally column that spans from 7′ 9″ up to 8′ 1″. Even though a column can be adjusted, you want to minimize the elevation of the screw portion as much as possible, as this adversely affects its strength.
-
Establish the Upper Plate
Attach the included metal plate to the underside of the LVL beam. Pre-drill holes in the LVL beam, since the bolts needed to attach the plate, are large enough that they will crack the beam. Now that you have established the location of the metal plate, detach it.
-
Attach Plate to Lally Column
Attach the metal plate to the top of the lally column.
-
Raise the Lally Column
Turn the machine screw on the column so that it is about 1/2-inch short of the distance from the floor to the bottom of the load-carrying beam.
-
Move Column Into Place
Slide the column into place. Consult the column manufacturer’s instructions for placement direction. Some adjustable lally columns are placed with the machine screw on the top, while others are placed at the bottom.
-
Further Raise the Lally Column
Turn the screw until the lally column becomes tight against the beam. The goal is to snug the column into place but not to jack up the beam.
-
Remove the Lever
If the adjustment mechanism’s lever is removable, slide it out of place and keep it in a safe spot. Keep the lever nearby, though, in case adjustments are necessary.
Typical Lally Column Projects
- When a builder or home remodeling contractor removes an interior, load-bearing wall, that person will insert a series of lally columns in place of the removed wall to keep the house structurally sound. These posts will later be removed when the wall is rebuilt or another type of bracing is installed (such as a beam).
- Short jack posts are often placed in out of the way places like crawlspaces and basements to correct sagging floors.
- Temporary projects that need quick shoring up and easy removal.
Lally Column Safety Measures
Lally columns are simple metal tubes that can suddenly become dangerous when installed improperly. When a lally column is installed even a bit out of plumb or off level, it can shoot away like a rocket when subjected to the immense weight of a housing structure.
- Most lally columns are not to be used for the initial jacking-up operation. A hydraulic or screw house jack should be used to elevate the item, then the steel lally column is inserted. After the column is in place, it can be used to make minute adjustments in elevation with the screw jack portion.
- Columns’ weight ratings depend on them being mounted perfectly vertical. When a column is even a little bit out of vertical, you are at serious risk of injury or death, as the weight from above can force the column to shoot out. Use a laser level to ensure that the column is perfectly plumb (vertical). Use a bubble level to make certain that it is resting on a perfectly level place.
- Steel plates at the top and bottom of each steel column are necessary to prevent the cylindrical ends of the columns from biting into the wood.
Read the full article here


