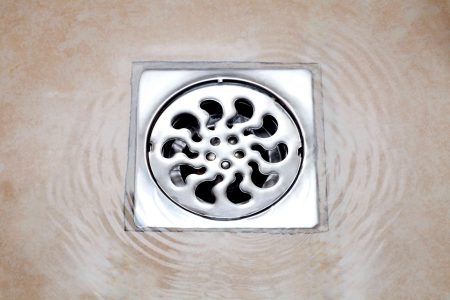
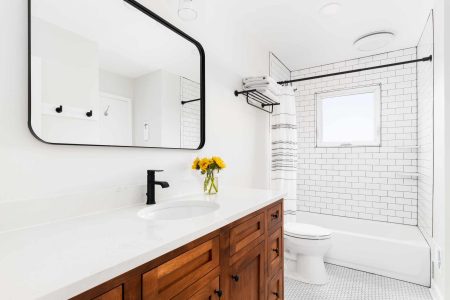
Water is the biggest villain to the structural integrity of a home, and nowhere is this more true than in a bathroom, where moisture is a constant factor. There is a reason why bathrooms and kitchens get remodeled more often than any other rooms in the house: Even a small infiltration of water below the walls, countertops, and flooring surfaces quickly begins to destroy the installation.
An efficient, complete system of moisture protection is the cornerstone of any successful, long-lasting bathroom remodel project. The quality of the waterproofing can spell the difference between a bathroom that looks great and functions efficiently for years, and one that immediately begins to decay and falls victim to mold and mildew.
Here are 10 tips for planning and executing a bathroom remodel that resists the effects of moisture.
-
01
of 10Use Waterproof Building Materials
While building materials made from organic, plant-based materials like wood, bamboo, paper, or jute can be great choices for most areas of the house, that’s not true in areas that see lots of moisture, such as a bathroom. In bathrooms, inorganic materials such as stone, metal, plastic, and ceramic or porcelain tile re better choices because they y aren’t affected by moisture. These materials tend to resist mold and mildew better than organic materials, and moisture doesn’t cause them to decay and rot.
For example, you may want to use PVC baseboards instead of MDF or solid wood baseboards. Clay-based porcelain and ceramic tile work well for walls and floors. Pay particular attention to the materials used for countertops. Solid-surface material, quartz (synthetic stone), or natural stone are usually better choices for bathroom countertops. Even plastic laminate countertops have an MDF core that can be affected by the moisture that’s prevalent in a bathroom.
If you are tiling a shower or tub surround, make sure the backer board is a high-quality waterproof material that is sealed properly. The same waterproof backer board is a good choice for tiled floors. For non-tiled walls, use special wallboard that has waterproof facing rather than the organic paper-facing found in standard wallboard.
In other words, always, opt for building materials that resist moisture when planning or remodeling a bathroom. Your bathroom will hold up much longer and require less maintenance if you do.
-
02
of 10Hire a Pro for the Plumbing
Even the tiniest hidden mistake with plumbing pipe installation can lead to thousands of dollars of damage. While modern materials such as PEX tubing make it easier for DIYers to do their own work, this is not an area where you want to take any chances. Unless you are 100 percent confident of your skills, strongly consider having a professional come in to do the plumbing rough-in work. Even if you complete all other tasks in the bathroom remodel, it will give you an extra measure of confidence to know that a pro who is knowledgeable of all code requirements has done the plumbing work.
Once the plumbing rough-in is done, most DIYers will find it easy enough to make the final connections of the plumbing fixtures.
-
03
of 10Provide Access to the Plumbing
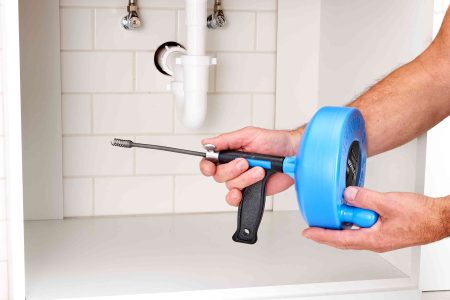
While not mandatory, it is always helpful to provide access to the bathtub or shower plumbing from the rear via a service panel. If the room on the other side permits, an opening can be created in the wall to allow the water supply lines to be observed and repaired from the back. It is far easier to work on plumbing this way than ripping out the tile from the front.
-
04
of 10Install an Exhaust Fan
Install a high-capacity bathroom exhaust fan as one method of expelling moisture-laden air from the room. By building code, bathroom fans must expel a minimum of 50 cubic feet per minute (CFM) intermittent and 20 CFM continuous, but you may want a more powerful fan if the bathroom is large.
Some exhaust fans are also equipped with infrared heat bulbs that can aid in burning off moisture in a bathroom. Or, you can install a standalone heater to help with moisture.
Continue to 5 of 10 below. -
05
of 10Use Tile as a Wall Surface
Walls covered with ceramic or porcelain tiles will be nearly impervious to the effects of water. These tiles have long been used for shower and bathtub surround walls, but modern bathrooms often use it as a surface material for wainscoting, backsplashes, or even for entire walls.
-
06
of 10Install a Waterproof Floor
The choice of flooring is critical in a bathroom, where some of the standard organic choices—hardwood, engineered wood, and bamboo—don’t perform very well, especially in heavy-use family baths. Plastic laminate flooring might seem like a good choice, but it is usually constructed with a core layer made from wood byproducts, and thus can easily be compromised by water.
A classic choice for bathrooms is ceramic and porcelain tile, which is now available in styles that can be surprisingly effective at mimicking wood planks and other materials. Another good choice is luxury vinyl planks and tiles. This form of vinyl is made from solid inorganic material through and through, so it is utterly waterproof. And luxury vinyl is available in styles that convincingly look like wood, stone, or ceramics.
In addition to choosing a fully waterproof flooring material, make sure the installation is as watertight as possible to ensure that moisture doesn’t penetrate through the flooring to the vulnerable subfloor and underlayment.
-
07
of 10Focus on the Baseboard System
Pay particular attention to the baseboards—the junction between the bathroom floor and the walls. Tight-fitting baseboards caulked at the top and bottom will do wonders for keeping water from seeping into walls and subfloors.
Where possible, use materials other than wood for the baseboard moldings. Synthetic PVC moldings can convincingly mimic the look of wood baseboards, or a flexible thermoplastic vinyl wall base helps form a tight seal without the need for caulking. Ceramic tile trim moldings, caulked at the top and bottom, can create fully impervious joints where walls meet the floor.
-
08
of 10Caulk All Cracks and Holes
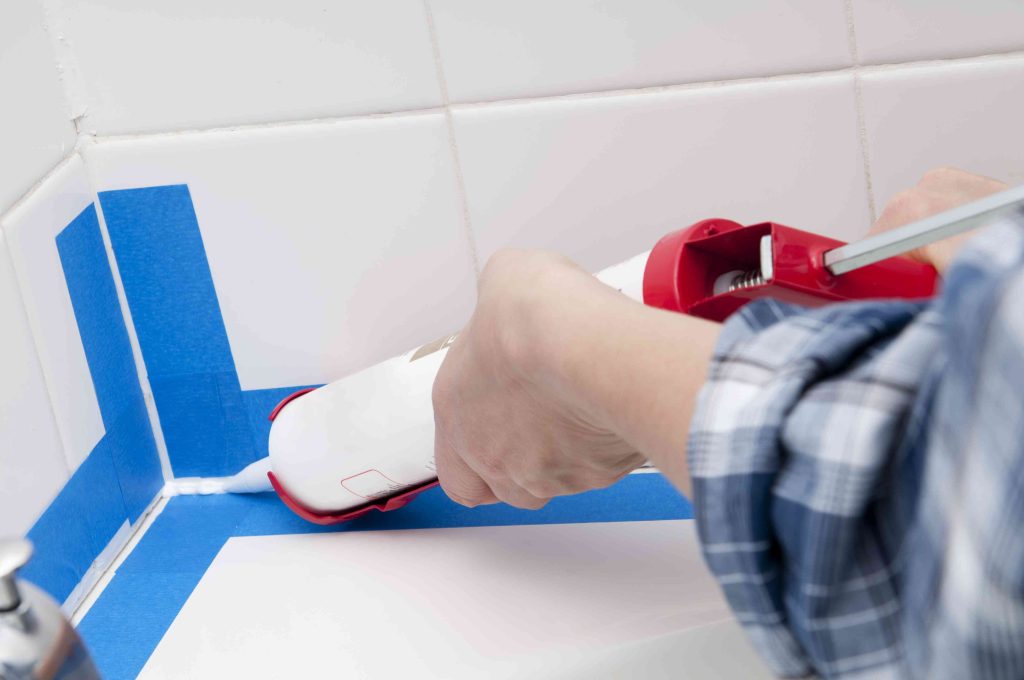
Silicone-based bathroom-grade caulk is indispensable with any bathroom remodel. Use it to seal virtually all cracks and holes between surfaces, such as between walls and floors, where countertops meet walls, where plumbing fixtures meet floors and countertops, and especially on all seams in a shower or around a tub.
Good caulking technique is a learned skill, but it can make all the difference in ensuring that your bathroom resists the effects of water.
Continue to 9 of 10 below. -
09
of 10Make Sure the Shower or Tub Is Watertight
When water damage occurs in a bathroom, the culprit is very often the tub or shower, so pay special attention when remodeling to ensure it is as waterproof as possible. This is one area where you may want to invest in professional installation, especially if you are installing a custom tile shower and shower pan. Pros use special waterproof backer boards or membranes behind the tile to ensure that moisture can’t seep into wall cavities. If you decide to tile your own shower, do your research and make sure you are confident of your skills.
Another option is to use fabricated shower or tub surround panels, where the only seams you have to worry about are in the corners. Tub and shower surrounds are generally much cheaper than custom tile work, and almost always easier for DIYers to install.
Caulked seams in a shower or tub should be inspected annually and recaulked when necessary.
-
10
of 10Use High-Gloss Paint
Flat or matte sheen interior paint on the bathroom walls tends to streak and stain. Use glossier paints to ward off the inevitable splashes from the bathing facilities and from condensation. Satin, eggshell, and semi-gloss paints are favorites for their ease of application and durability in a bathroom
Maintaining a waterproof bathroom is not a one-and-done event. After the remodel, keep your bathroom in good condition by managing moisture with these regular practices:
- Using bath mats
- Keeping cracks caulked
- Sealing tile seams
- Using tightly fitting shower curtains
- Mopping up spilled water immediately
- Painting walls on a regular basis
- Fixing gaps in flooring
Read the full article here
