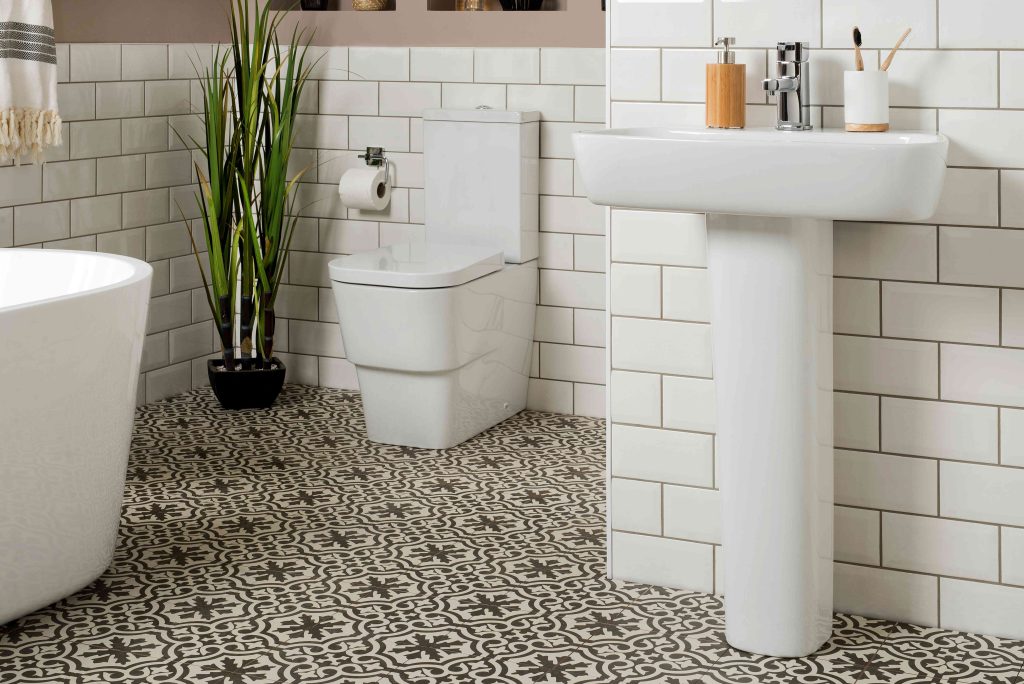
A pedestal sink’s spare lines give any bathroom a clean, elegant look. It also saves space by eliminating the need for a vanity cabinet.
This guide teaches you how to install a pedestal sink in two to four hours. It also helps you understand how to install a rear wall mounting plate for safety and stability.
What Is a Pedestal Sink?
A pedestal sink has an upper sink basin and a lower pedestal stem. The hollow pedestal hides the water supply lines and drain pipe.
Before You Begin
The bathroom requires the following before you can install the pedestal sink:
- Flooring: Bathroom floor fully installed and finished
- Wall: Wall behind the pedestal sink installed and painted
- Plumbing: Sink drain and water supply lines installed in the wall behind the sink
Safety Considerations
Shut off electrical circuits that supply power to the wall behind the pedestal sink as you’ll need to cut into the wall.
What You’ll Need
Equipment / Tools
- Electric multi-tool
- Electric drill
- Saw
- Tape measure
- Bubble level
- Pencil
- Stud finder
- Drywall 4-inch knife
- Ratchet wrench set
Materials
- Pedestal sink
- Two-by-six board (4-foot)
- Scrap drywall
- 3-inch wood screws
- 1-1/2 drywall screws
- Drywall joint compound
- Drywall paper tape
- Bathroom paint
Instructions
How to Install a Pedestal Sink
-
Prepare the Installation Area
Before you install the sink, bring all surfaces to finished quality, especially if you removed a bathroom vanity cabinet to make way for the pedestal sink. Replace or install bathroom flooring, as the pedestal will sit on top of the floor. Repair and paint the back and side walls.
Want more home reno project tips and inspiration? Sign up for our free daily newsletter for the latest how-tos, reno guides, and more!
-
Measure and Mark the Sink Height
With the tape measure, measure the height of the pedestal sink’s mounting bracket or bolts, as specified in the instructions. Place the mark on the wall. Set the bubble level on the mark so it is level. Draw a line across the bubble level.
-
Locate and Mark the Studs
With the stud finder, locate three studs along your horizontal line and mark them.
-
Mark the Mounting Brace
Mark the location of the horizontal mounting brace on the wall behind the sink:
- Cut the brace: Cut the two-by-six to 34 inches long.
- Locate the drywall cut area: Center the brace vertically on the height line you drew earlier. Also, center it horizontally so that each end of the two-by-six will rest on a stud, with a third stud in the center.
- Mark the cut area: Draw a line around all four sides of the two-by-six.
-
Remove the Drywall
Cut the drywall on the cut lines with the multi-tool fitted with a drywall blade. Remove the drywall carefully.
-
Notch the Studs
Mark the notch cut lines on the sides of the three exposed studs. Each notch should be 1-1/2-inch deep by 5-1/2 inches high. Use a scrap piece of two-by-six to draw the lines. Cut the three notches in the studs with the multi-tool fitted with a wood blade.
-
Install the Mounting Brace
Place the two-by-six mounting brace in the notched area and attach it with six wood screws (two screws per stud).
-
Patch the Wall
Cut a section of drywall to 5-1/2 by 34 inches. Screw the drywall in place with drywall screws. Apply drywall compound over the board’s edges and apply paper drywall tape. Sand and paint the patched section to match the bathroom wall.
-
Install the Faucet on the Sink
Install the bathroom faucet and drain tail piece on the sink basin. Rest the sink on its side and support it with towels to avoid damaging the sink and its components.
-
Install the Sink Drain Trap
Install the sink drain (P-trap) on the wall drain pipe extension. The drain must be straight and remain fairly tight to the wall to fit into the hollow pedestal.
-
Drill the Mounting Bolt Holes
Place the sink basin on the pedestal. You’ll usually need to add pads to the top of the pedestal first. The pads will be included with the sink. Slide the sink so it is touches the back wall. Mark the mounting bolt holes. The sink should have holes underneath the basin. Slide the sink aside. Pre-drill the holes for the mounting bolts.
-
Attach the Sink to the Wall
Slide the sink and pedestal against the wall again. Screw the mounting bolts in place with the ratchet wrench. Tighten the bolts carefully to avoid cracking the porcelain sink.
-
Attach the Pedestal to the Floor
Drill a hole through the anchoring hole at the bottom of the pedestal. Then, drive the included mounting bolt through the anchoring hole and into the bathroom floor.
-
Attach the Plumbing
Attach the P-trap to the sink’s drain tail piece. Attach the hot and cold water supply lines to the sink faucet.
You Might Need…
With no storage space below the pedestal sink, look for alternative bathroom storage opportunities. We’ve researched top brands to find the best over-the-toilet storage units for you.
When to Call a Professional
Consider hiring a carpenter or handyperson to install the wood mounting brace, as notching out the wall studs can be tricky. A plumber can assist you with moving or installing the water supply lines and drainage pipe.
-
Are pedestal sinks hard to install?
Pedestal sinks aren’t hard to install if the bathroom has all the necessary plumbing. Unless you’re replacing an existing pedestal sink, most bathroom walls do not have a mounting brace installed in the wall. So you’ll need to do this, too.
-
Does a pedestal sink need to be attached to the wall?
A pedestal sink needs to be attached to the wall. You’ll generally need to attach the upper sink portion of the pedestal sink to the wall. The pedestal is bolted to the floor.
-
Can I use toggle bolts for a pedestal sink?
It is not recommended to use toggle bolts for a pedestal sink. Due to the weight of the sink basin, it’s best to install a solid mounting board, like a two-by-six, in the wall behind the sink.
Read the full article here


