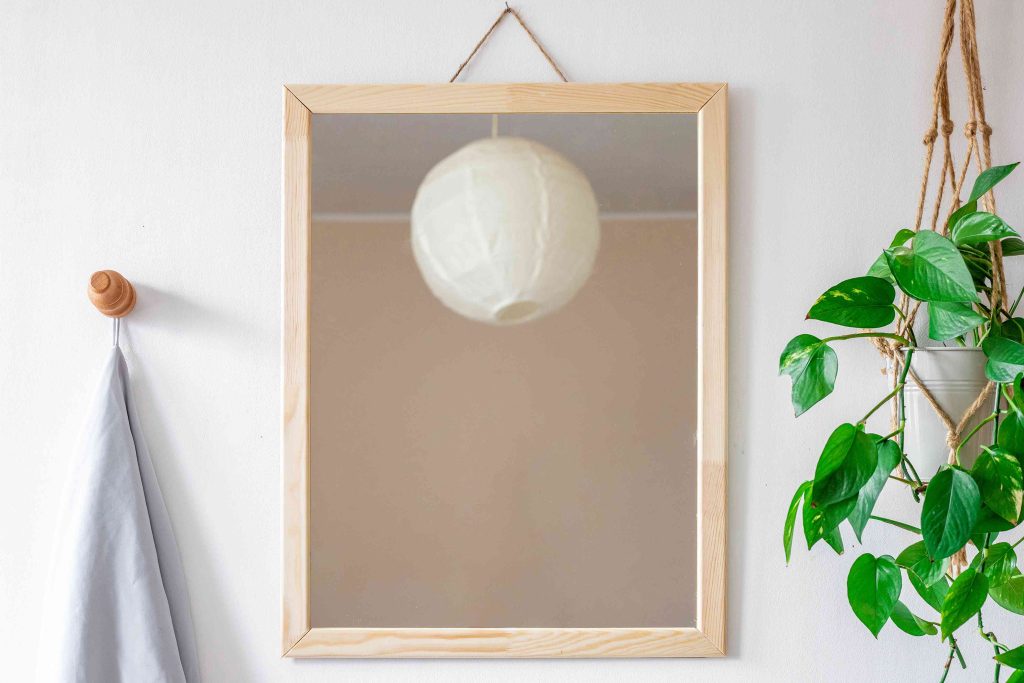
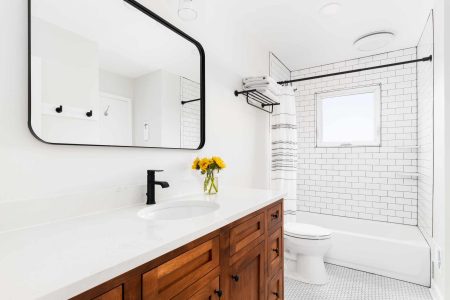
Unframed, builder-grade mirrors may get the job done, but they certainly leave something to be desired visually speaking. What if we told you that adding a custom-built frame was surprisingly simple? Not only is this the case, but framing out a wall-mounted mirror is an extremely budget-friendly way to decorate with mirrors and alter your space’s aesthetic to whatever vision you can dream up.
By using a heavy-duty adhesive that bonds to glass, this project requires no nails, screws, or other fasteners to frame the mirror. Simply cut the boards to length, glue them in place, then finish to your liking. Give it a rustic edge, some coastal charm, or keep it polished to perfection. With this DIY mirror frame, the choice is yours!
Before You Begin
Before you run out and buy supplies, determine what kind of look you’re after and buy materials accordingly. If you want a more rustic look, choose something like knotty pine. Like the airy, coastal look of a whitewashed frame? Choose natural wood with not so many knots. For a picture-perfect, traditional finish, look no further than primed MDF trim pieces. You can buy very detailed millwork, flat boards, or anything in between, depending on your desired look.
What Is MDF?
MDF stands for medium-density fiberboard. It’s an engineered building material that is composed of wood fibers combined with a binder to create a strong, wood-like material.
Follow these steps to frame your wall-mounted frameless mirror and adjust them accordingly to suit your space and desired look.
What You’ll Need
Equipment / Tools
- Miter saw or miter box
- Caulking gun
- Tape measure
- Pencil
- Finishing supplies
- Sanding block
Materials
- Trim boards (adjust dimensions and style accordingly)
- Adhesive rated for glass
- Paintable caulk (if painting)
- Preferred finishing supplies
- Rag
- Painter’s tape
Instructions
-
Measure Mirror
Measure your mirror using a tape measure, then use these numbers to calculate how much trim to buy. The inside dimensions of the frame should be slightly smaller than the mirror to provide a gluing surface on the frame.
-
Buy Trim Boards
Choose your trim according to your preferred look, sticking with boards around two to four inches wide for best results. Trim is sold in a variety of lengths, so factor in your cuts to minimize waste.
-
Cut Miters in Boards
Using a miter box or miter saw, cut 45-degree miters on each end facing opposite directions. The long side of the top and bottom pieces should reflect the length of the mirror and the side pieces should reflect the height of the mirror. Once cut, use a sanding block to remove any splinters.
-
Glue Bottom Piece to Mirror
Using a heavy-duty adhesive that can bond to glass, glue the boards to the mirror. Start with the bottom piece and apply a generous bead of adhesive near the outside edge of the board. This will prevent the glue from reflecting in the mirror once the boards are installed. Firmly hold the board in place for the time specified in the adhesive’s instructions, then use painter’s tape to tightly secure the board in place until it is fully dry.
-
Glue Sides and Top
Glue the side pieces in the same fashion as the bottom, using the edges of the mirror as a guide. For added strength, you can opt to glue the mitered edges of the boards together as well, being sure to wipe away any excess adhesive. Finish the frame by gluing the top piece in place.
-
Fill Imperfections With Caulk
Once the glue has fully dried, carefully remove the painter’s tape and fill any loose miter joints with paintable caulk. Wipe clean and let dry. Skip this step if you are using natural wood that will not be painted.
-
Finish Frame
Finish the boards in your preferred method. For a rustic look, choose a weathered stain color. If you desire a whitewashed coastal look, water-down white latex paint and apply a thin layer with a rag rather than a paintbrush. For a clean painted look, simply paint with your desired color of latex paint.
Read the full article here
