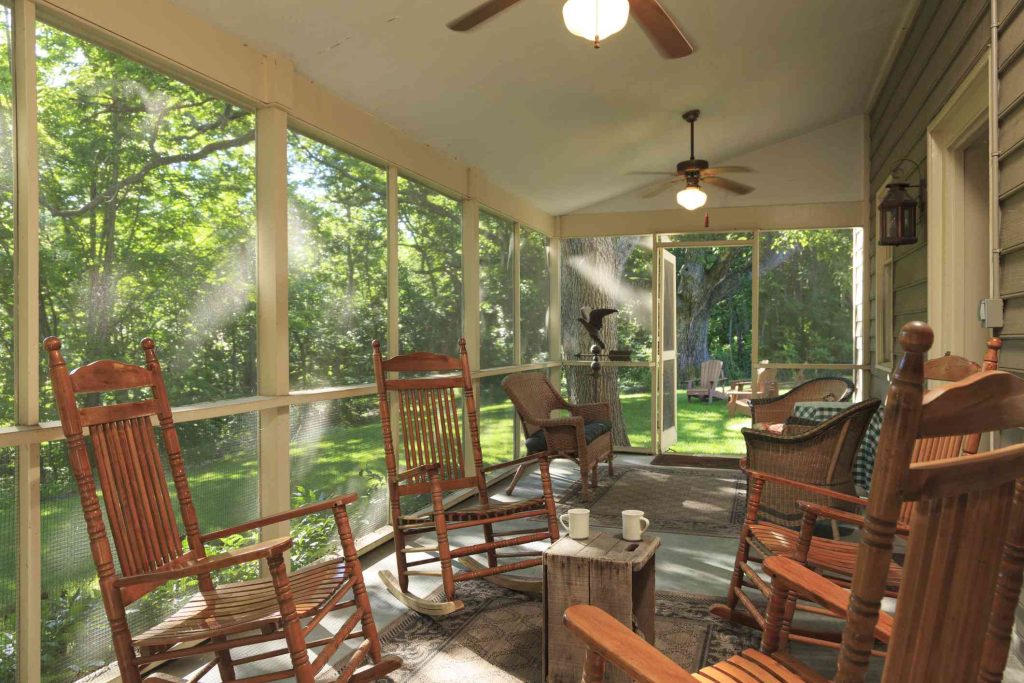
You can DIY a screened porch that keeps the bugs out while letting you enjoy your porch. The good thing is, screening a porch isn’t difficult at all.
The simple way to DIY a screened-in porch is to build a wood frame screen panel and then attach that panel to the porch. Four linear feet of screen porch costs about $50. Create as many panels as you want to fill the space.
Codes and Regulations
Screening a porch generally does not require a permit. Some municipalities may require homeowners to obtain a permit before screening a porch, especially in historically designated zones.
Alterations to the facade (or even the back) of a house in a community controlled by a housing association (HOA) will nearly always require board approval.
When to Screen in a Porch
Screen panels can be built at any time of the year since they do not have to be constructed on-site, Much of the work can be done in a garage or a workroom. The fall-to-winter period is an ideal time to get started on screening a porch.
What You’ll Need
Equipment / Tools
- Speed Square
- Circular saw
- Cordless drill
- Six-foot step ladder
- Laser level
- Carpenter’s pencil
- Staple gun
Materials
- 4 two-by-twos, each 8-foot
- 1 roll fiberglass window screen, 48-inch by 25-foot
- 2-1/2 inch screws
- 3-1/2-inch bolts
- Washers
- Wing nuts
- 16 zinc corner braces, 3-inch
Instructions
-
Cut the Wood
With the electric miter saw, cut two of the two-by-twos in half. This produces four pieces of wood, each 4 feet long.
-
Install a Nailing Cleat on the Floor
Use the cordless drill to drill four pilot holes through one of the 4-foot two-by-twos. Switch to a driver bit and drive the 2-1/2-inch screws through the two-by-two and into the face of the porch floor.
-
Install a Nailing Cleat on the Ceiling
Similar to the cleat on the porch floor, add a two-by-two nailing cleat to the ceiling. Use the plumb feature on the laser level to strike a plumb vertical line between the bottom and top boards.
-
Measure Porch Ceiling Height
With the tape measure, measure the height of the porch, from floor to ceiling. Subtract 1-1/2 inches from the figure. Transfer this measurement to two of the 8-foot two-by-twos. Cut to length.
-
Construct the Panel Frame
Make a rectangular screen panel frame, using two 4-foot boards at the very top and bottom and two longer boards for the vertical pieces. Construct the frame with the four metal braces and the screws included in the packet. Maintain square with the Speed Square.
-
Add the Screen Material
Stretch the screen material across the face of a panel and then down on the sides. Keep the screen tight as you staple it down to the sides. Fiberglass screen is pliable, so you should be able to wrap it back, much like wrapping a package. Keep the screen tight and flat against all sides. Cut off excess with scissors or a utility knife.
-
Create Holes for the Bolts
Have an assistant push one of the screen panels tightly up against the floor and ceiling nailing boards. Using the six-foot step ladder, drill two holes at the top of the panel, all the way through the panel and the nailing board behind it. Back on the porch floor, do this again (two holes) for the floor section.
-
Insert Bolts in the Screen Panels
Have the assistant maintain pressure on the panel as you slip the four 3-1/2-inch bolts through the four holes: two at the top, two at the bottom. Add washers and wing nuts to the back.
Tips for Screening a Porch
- Add a horizontal center rail at about the halfway point to provide a visual stop and for additional structural support,
- Use galvanized screws to prevent rust and to lengthen the life of the screened-in porch.
- Keep the screen material tight on the sides of the panels, as bumps may create holes through which insects can enter the screened-in porch.
- Floor-to-ceiling height may not be the same throughout the entire porch. So, measure separately for each screen panel.
-
What’s the best material for a screened in porch?
The best material for a screened in porch is fine-mesh fiberglass screen. While more prone to tearing than metal screen, fiberglass screen is lightweight, easy to handle, and simple to staple to the frame. Pet-safe fiberglass screen keeps pets in and resists some degree of tearing from claws. This screen is about three times more expensive than ordinary fiberglass screen.
-
What impacts the cost of a screened in porch?
The cost of a roll of fiberglass window screen is $35 to $40. If you’d like pet-resistant screen, the cost is about three times as much ($75 to $80). Each 8-foot length of pressure treated two-by-two is $6 to $8. If you’d like a higher grade of wood such as Douglas Fir or poplar, each piece runs about $12 to $16. Note that the Douglas Fir or poplar are not pressure-treated, so you’ll also need to factor in the cost of wood protectant, at around $30 to $45 per gallon.
-
What’s the least expensive way to screen in a porch?
The least expensive way to screen in a porch is to staple fiberglass screen to wood frames. The frames are then mounted to the porch.
Read the full article here
