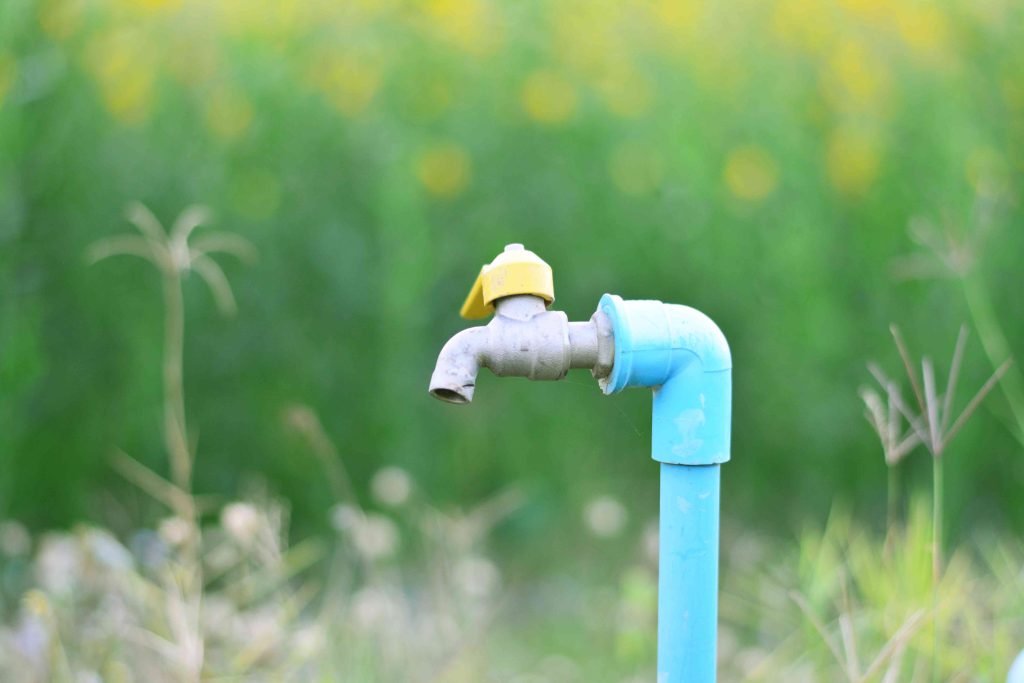
Frost-free hydrant installation is usually called for when you need to access water at a location that is far away from your home and in an area not easily reached with a standard garden hose. Frost-free hydrants are also convenient for those that need outside water year-round in areas that experience freezing winter temperatures.
A frost-free yard hydrant contains a buried horizontal pipe that leads to a long, vertical pipe deeper than 24 inches underground, called a “standpipe.” The standpipe automatically drains the water from the hydrant each time the hydrant is shut off. The bottom of the standpipe reaches below the frost line (the depth to which the ground freezes in the winter) and allows the water to drain past the unfrozen ground, preventing the upper portion of the hydrant from freezing.
A yard hydrant must work properly to prevent freezing. You must also assure there are no hoses attached to the head casting or your hydrant can freeze. If you have tried to repair a dripping hydrant without success, or if you find that a piece has broken, you may need to replace the hydrant altogether. Replacing a yard hydrant is not difficult, but it may require a fair amount of digging to reach the parts and supply pipe buried below the frost line.
Parts of a Frost-Free Hydrant
Before tackling this project, it’s important to familiarize yourself with frost-free hydrant parts. Knowing the anatomy of the project you’re getting into will assure you perform the replacement correctly. You can also purchase a frost-free hydrant repair kit if only a few of the parts need fixing.
- Head casting: The head casting is situated above ground and is the visible part of a frost-free hydrant. The water flows from the head casting when the handle is engaged.
- Handle: The handle resides off the backside of the head casting and allows the hydrant to turn on and off. The handle also helps you adjust the flow and pressure of the water.
- Hose adapter: Similar to a hose bib, the hose adapter comes right off the spout of the head casting. It contains threads on which to screw a hose.
- Flow lock wheel: This wheel sits on the side of the head casting, right beside the handle. It allows you to lock the flow and pressure of the hydrant.
- Set screw: The set screw attaches the handle to the pump rod and can be adjusted in the event of a leaky hydrant.
- Pump rod: The pump rod is located partially above ground, and partially below. It activates the below-ground plunger to turn off and on the flow of water.
- Galvanized pipe: The pump rod is housed in a galvanized pipe that is also located partially in and out of the ground. The head casting sits on top of this pipe.
- Plunger: The plunger is located underground and, when disengaged by the pump rod, allows water to flow. When the pump rod is activated, the plunger stops the flow of water.
- Standpipe: The standpipe is an underground pipe that allows the water to flow out of the hydrant and beneath the frost line.
What You’ll Need
Equipment / Tools
- Shovel
- Pipe wrenches (2)
- Garden hose
Materials
- Penetrating oil (as needed)
- Plumber’s thread-seal tape or pipe-joint compound
- 1/2-inch gravel for drainage
Instructions
How to Replace a Frost-Free Hydrant
-
Dig Out the Old Hydrant
Shut off the water supply to the hydrant, and open the hydrant’s faucet to remove any pressure in the line.
Dig a hole around the hydrant to expose the standpipe, using a standard shovel (no power equipment) to prevent damaging the pipe. Remove enough soil and gravel around the fitting at the bottom of the standpipe to have sufficient room to work.
-
Remove the Old Hydrant
Unscrew the standpipe from the fitting, using two pipe wrenches: Use one wrench to hold the fitting in place so it does not twist or move, and use the other wrench to twist the standpipe in a counterclockwise direction. If the standpipe is difficult to turn, soak the pipe threads (where the pipe meets the fitting) with penetrating oil, such as Liquid Wrench or WD-40. Let the oil sit for 15 to 30 minutes, then try again to remove the pipe. Repeat the oil application, if necessary.
Be careful not to let dirt or gravel fall into the pipe fitting when the standpipe is removed. If some dirt or debris falls in, vacuum it out with a wet-dry shop vac. Or, you can turn on the water supply for a few seconds to flush debris out of the pipe fitting.
-
Install the New Hydrant
Apply plumber’s tape or pipe-joint compound to the threads on the standpipe of the new yard hydrant. Thread the standpipe into the underground fitting, again using two pipe wrenches—one to hold the fitting and the other to turn the pipe. Tighten the standpipe snugly, stopping when the faucet faces in the desired position. Be careful not to over-tighten the standpipe.
-
Test the New Hydrant
Turn on the water supply to the hydrant and check all of the connections for leaks. Test the hydrant by attaching a hose to it and positioning the end of the hose well away from your hole, then open and close the hydrant faucet. Look into the bottom of the hole as you turn off the water at the hydrant: The water from the standpipe should drain out through the drain valve at the base of the standpipe.
-
Backfill the Hole
Begin filling the hole with 1/2-inch diameter drainage gravel up to about 3 inches above the hydrant’s drain valve; this ensures that water draining from the standpipe will flow away from the valve. Fill in the remainder of the hole with soil, compacting it with your feet as you go.
When to Call a Professional
If you replace the standpipe on your hydrant and it is still not functioning properly, the issue may be with the pipe that feeds the hydrant from your home. Sometimes a crack will develop in this line which can affect the pressure you get from the hydrant. If you feel this is the case, you may want to call in a professional to evaluate the line and find a potential leak, as doing so yourself could involve an excessive amount of digging.
-
Why did my frost-free hydrant freeze?
A frost-free hydrant may freeze if the ground around the hydrant gets wet. Once the ground temperature gets cold enough, this water will freeze, causing your hydrant to freeze with it. A hydrant can also freeze if it’s attached to a hose that contains water.
-
How much does it cost to install a frost-free hydrant?
A frost-free hydrant can cost anywhere from $500 to $1200 to install or replace. The price includes the actual hydrant and its parts, the digging, and connecting a line from your well, or water source, to the hydrant.
-
How do you winterize a frost-free hydrant?
Winterizing a frost-free hydrant is simple and involves disconnecting the hose, turning off the water shutoff valve in your basement, and draining the hydrant.
Read the full article here


