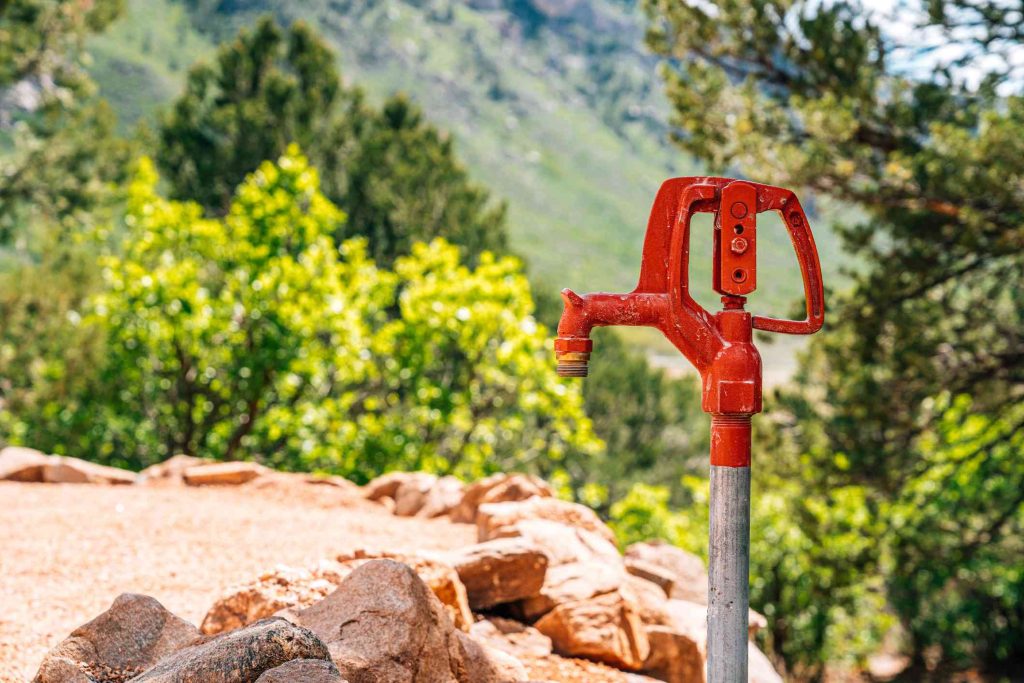
Installing a water hydrant in your yard is a great way to add a handy water source where you need it and to allow a garden hose to irrigate far reaches of your property. The beauty of a frost-proof water hydrant is that it drains itself every time you shut off the water, preventing water from freezing inside the faucet in winter. To ensure the frost-proof function works, the drain valve at the bottom of the hydrant’s standpipe must be buried below the frost line, the depth to which the ground freezes in winter. This varies by climate, so check with your local building department for the recommended depth in your area.
A yard hydrant installation is easiest if you can tap into an existing underground water supply line, such as the mainline for a sprinkler system. If a water supply is not available, you must run a new line to the water hydrant location. This project shows a water hydrant connecting to a PVC water line near some in-ground sprinkler valves, where it is easy to cut into the supply pipe and add a tee fitting for the new hydrant.
Warning
It’s required by law that you dial 811 to have your local utility location services come out to your property and mark utility lines before you begin digging to install your water hydrant. You will also need to know if the area you’re planning to install a hydrant is an easement.
What You’ll Need
Equipment / Tools
- Shovel
- PVC pipe cutter or hacksaw
- Level
- Tongue-and-groove pliers
Materials
- PVC pipe (sized as needed)
- PVC tee fitting
- PVC solvent glue
- Yard hydrant with standpipe and drain valve
- 90-degree elbow (sized for hydrant)
- MIP adapter (male-threaded x slip fitting)
- Plumber’s tape
- Additional PVC fittings (as needed)
- Scrap pieces of metal rebar (optional)
- 1/2-inch gravel
Instructions
How To Install a Yard Hydrant
-
Dig Down to the Supply Pipe
Shut off the water supply to the underground supply line, if possible; otherwise, shut off the water to the house. Dig a large hole at the hydrant location, exposing enough of the water supply pipe to provide ample room to work. Use only a hand shovel to prevent accidental damage to the pipe.
-
Install a Tee Fitting
Cut out a small section of the water supply line for installing a 90-degree tee fitting, using a PVC pipe cutter or a hacksaw. Fit a short length of PVC pipe into the side outlet of the tee, but do not glue it in place. Permanently install the tee into the supply pipe with PVC solvent glue, following the manufacturer’s directions. When positioning the glued tee, use a level held along the short length of pipe to make sure the tee is perfectly horizontal.
-
Add the MIP Adapter
Install a 90-degree elbow and the MIP adapter onto the bottom of the water hydrant standpipe, using plumber’s tape, tightening the fittings with tongue-and-groove pliers. The MIP adapter has male threads that attach to the elbow as well as a smooth (slip) socket that you will solvent-glue to the PVC water supply pipe.
For added protection against clogging, you can install a 1/8-inch, 90-degree elbow into the drain valve so it is pointing downward. This helps ensure the valve does not easily clog with dirt that can come in from the sides.
-
Complete the Job
Cut the pipes and install additional fittings as needed to join the hydrant to the water supply tee fitting. Test-fit (without glue) all fittings to make sure everything fits correctly.
Glue all of the PVC pipes and fittings together, using solvent glue. If the water hydrant is heavy, it’s a good idea to support it with a few pieces of metal rebar to hold it in place while the glue dries. Let the glue cure as directed by the manufacturer. Turn on the water and inspect all connections for leaks.
Fill the bottom of the hole around the drain valve with 1/2-inch gravel to a level at least 3 inches above the drain valve; this ensures the hydrant drains properly. Fill in the remainder of the hole with soil, carefully compacting the soil with your feet as you go.
Tips for Installing a Frost-Free Yard Hydrant
- Choose a south-facing, sunny location to install a yard hydrant to further prevent freezing.
- The depth that you need to bury a yard hydrant depends on the area you live. Frost depths can vary around the United States from 0 to 8 feet deep, and hydrants come with standpipes designed for “bury depths” of 1 foot to 5 feet or more.
- Your yard hydrant’s head should be a minimum of 24 inches tall and may go up to 30 inches above ground level.
- Consider encasing a water line in sand to keep it from shifting when the ground thaws, after a downpour, when water is running through it, or if you have very sharp rocks that could puncture the line.
- Always remove hoses after use, regardless of the season, to prevent trapped water from causing problems.
-
How much does it cost to install a yard hydrant?
Though parts can cost a DIYer a couple of hundred dollars, it can cost a minimum of $1,000 for a professional plumber to install a yard hydrant, but it will often run much more for the labor.
-
Do I need to winterize a yard hydrant?
If you only want your hydrant for seasonal use and you are burying it at a shallow depth, then yes, you will need to winterize it. Otherwise, a frost-free and frost-proof yard hydrant is designed and installed in such a way that allows it to be used in the winter.
-
Can a yard hydrant leak underground?
Yes, there are a few reasons there could be an underground leak. The hint there may be an underground leak is if the hydrant’s water pressure is low and the hydrant is not functioning well. Causes could be a faulty, cracked, corroded, or worn bottom valve assembly or poor water supply piping. It’s best to call in a professional to evaluate and repair the situation.
Read the full article here


