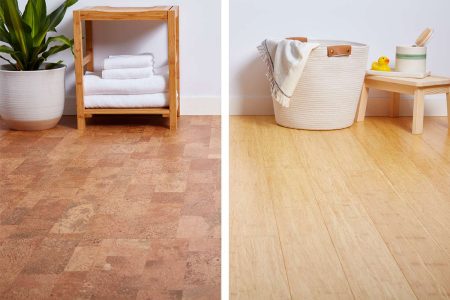
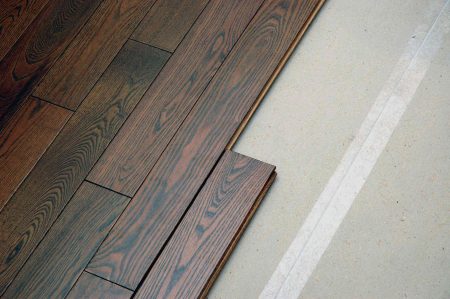
It’s the dictum you always see when you purchase a floor covering: Start with a level subfloor. Whether engineered wood flooring, tile, hardwood, laminate, or vinyl, that floor cover needs to be installed on top of a level subfloor.
But older homes frequently have subfloors that are out-of-level creating sloping floors. Even some newer homes already have uneven subfloors. How can you correct an uneven subfloor before installing flooring so you have a level floor?
Why a Level Subfloor Is Important
Your floor isn’t just the tile, carpet, wood, or laminate that you walk on. The flooring system in your home typically consists of three layers: the surface floor covering (such as laminate planks, sheet vinyl, hardwood planks, or carpet); an underlayment that lies directly under the surface floor covering; and the structural subfloor that is installed directly over the floor joists.
The subfloor is a structural component, essential for the strength and durability of the home’s flooring platform. This subfloor layer must be stable, solid, flat, and level. If the subfloor is uneven, with dips, ripples, or waves, this irregularity will be telescoped through to the surface floor covering and can even cause the flooring installation to fail. For example, ceramic tile installed over a bad subfloor can result in cracking grout or broken tiles.
In homes built after the 1970s, the subfloor is usually made of tongue-and-groove plywood sheets that interlock to form a smooth, flat base for the flooring system. More recently, OSB (oriented strand board) became an acceptable material for subfloors. Plywood or OSB normally makes for a very stable subfloor that resists buckling or rippling unless there has been some kind of water damage or settling of the house’s foundations or center support beam. However, if the subflooring material was substandard—built with non-regulation thin sheets of plywood or another material—it’s possible your subfloor will be uneven and need alterations, such as leveling the floor with new plywood, before you install new flooring.
In older homes, the subfloor is often made of individual pine planks installed at a diagonal to the floor joists, sometimes with visible gaps between boards. These are often rather low-quality boards that can be prone to warping and cupping, as well as cracking and breaking as they age and dry out.
Prepare to Level a Floor
It’s best to evaluate the subfloor and make any necessary repairs after the old flooring and underlayment have been removed as the last step before installing new flooring. There are some instances, however, where new flooring is installed directly over the old flooring, such as when carpeting is installed over hardwood or when laminate flooring is installed over sheet vinyl. In these instances, the evaluation and correction of the subfloor can be done with the old floor covering still in place. Self-leveling compound, for example, is an easy way to level and flatten out a vinyl floor before laying laminate planks over the top.
Keep in mind, though, that installing new flooring over the old means that you are increasing the overall height of the floor. Where this is a problem, it may be best to remove the old flooring, underlayment, and perhaps even the subfloor itself to install new layers from bottom to top.
Problems with subfloors fall into one of two broad categories: general sloping that affects the entire plane of the floor and fairly minor irregularities that interrupt the flat plane of the floor without affecting its overall levelness. While there are several ways a do-it-yourselfer can fix minor irregularities. But larger sloping and sagging issues are beyond the reach of most do-it-yourselfers and typically involve leveling uneven floors using jacks.
Safety Considerations
Subfloors and all of the building members that undergird them, including joists and beams, can become unstable if too much weight is loaded on top. With raised flooring that has a crawlspace or basement underneath, make sure that you are staying within load limits.
What You’ll Need
Equipment / Tools
Diagnosing Uneven Floor
- Rotating laser level (optional)
- Long straight board
- Carpenter’s Level
- Tape Measure
Installing Underlayment
- Tape measure
- Circular saw
- Cordless drill
- Sander
- Straightedge trowel
Using Self-Leveling Compound
- Bucket
- Marker or pencil
- Long straightedge
- Paintbrush (optional)
- Straightedge trowel
- Sander
- Shop vacuum
Reinforcing Joists
- Hammer
- Pry bar
- Screwgun
Materials
Installing Underlayment
- 6 sheets 1/2-inch plywood
- 2 1/2-inch utility screws
- Self-leveling compound
- Sandpaper
Using Self-Leveling Compound
- Primer (optional)
- Self-leveling compound
- Sandpaper
Reinforcing Joists
- Replacement joist
- 2 1/2-inch utility screws
Instructions
How to Diagnose an Uneven Subfloor
-
Check Overall Room Slope
The best way to check a floor for general sloping is with a rotary laser level. When set in the center of the room, the laser level projects a perfectly level line onto all walls. To determine if there is major sloping, measure between the level laser line and the floor at various locations along the room’s perimeter.
You can also get a rough sense of the overall pitch of the floors by laying a long straightedge across the center of the floor, with one end at the foundation side of the room and the other toward the center of the house. Place a carpenter’s level across the top of the straightedge and observe the bubble in the center vial to determine if the room is roughly level or is noticeably sloped.
-
Look for Minor Irregularities
Lay a long straightedge across the floor (a long, straight two-by-four works well), parallel to one side wall and about a foot from the wall. Look for gaps between the bottom of the straightedge and the floor. As you move the straightedge across the floor, the number of gaps and their size will indicate what strategy to use for correcting the subfloor.
Move the straightedge across the floor in 1-foot increments, taking measurements between the bottom of the straightedge and the floor at various points. If you notice that the floor sags at one point across the room, for example, it may indicate that a floor joist has sagged or is broken. This means you may need to reinforce that joist in order to correct the floor sagging. More likely, though, you will notice various irregular gaps beneath the straightedge and floor as you move the straightedge over the floor.
-
Decide on a Repair Strategy
- If the gaps between the bottom of the straightedge and the floor are irregular dips or sags, spanning no more than about 4 inches and no more than 1/2 inch in depth, then covering the subfloor with sheets of plywood will probably flatten out the floor sufficiently to accept almost any new flooring.
- For shallow waves or dips that are wider than 4 inches, the best fix will be to level out those areas with a liquid self-leveling compound. Once the compound dries, the floor will be quite level and smooth, prepared to accept any new floor covering.
- If you determine that sagging seems to be occurring along a line in one area of the floor, it’s likely you have a warped or broken floor joist that is no longer providing the necessary support. The repair here will be to reinforce the bad joist by adding a sister joist alongside the old joist.
How to Correct an Uneven Subfloor With Plywood Underlayment
Adding plywood underlayment is usually sufficient to correct a subfloor that sags in areas that are no more than 4 inches wide and less than 1/2 inch in depth. It’s best to use the thickest plywood that is practical for your situation, but even a 1/2-inch layer will greatly improve a subfloor that has relatively minor irregularities.
-
Plan Layout
Plan the layout of the plywood sheets so the long dimension runs perpendicular to the floor joists. Also, make sure the joints between sheets in the underlayment are offset (staggered) from the joints in the subfloor by about one-half sheet. The short sides of the plywood sheets must be centered over joists to support the ends.
Plan the layout so there are 1/4-inch expansion gaps at the walls and between sheets.
-
Trim and Attach Sheets
Trim the first sheet, if needed, to stagger the joints and ensure the ends of the sheet fall over joists.
Place the first sheet into position along one of the walls with a 1/4-inch gap along the edge. Fasten the sheet to the floor joists with 2 1/2-inch screws driven through new underlayment and subfloor and into the joists below. Drive a screw every 6 to 8 inches along the joist, making sure the screw heads are slightly recessed below the surface of the plywood.
If attaching more than one sheet, trim as needed and place the next sheet in the first row. Leave a 1/4-inch gap between the ends of the sheets. Fasten the second sheet as with the first. Install the remaining sheets in the first row, trimming the last sheet to fit, as needed. Make sure to leave 1/4-inch gaps between sheets.
-
Finish Installation
Complete the second row with full-width sheets, but trim the first sheet so the end joints between sheets are offset from those in the first row by about 4 feet. Leave 1/4-inch gaps between all sheets.
Continue installing sheets of plywood across the room, attaching them to the floor joists in the same way. Make sure to maintain 1/4-inch gaps between the sheets. On the last row of plywood, rip-cut the sheets to fit the remaining gap, leaving a 1/4-inch gap around the wall.
-
Fill Gaps
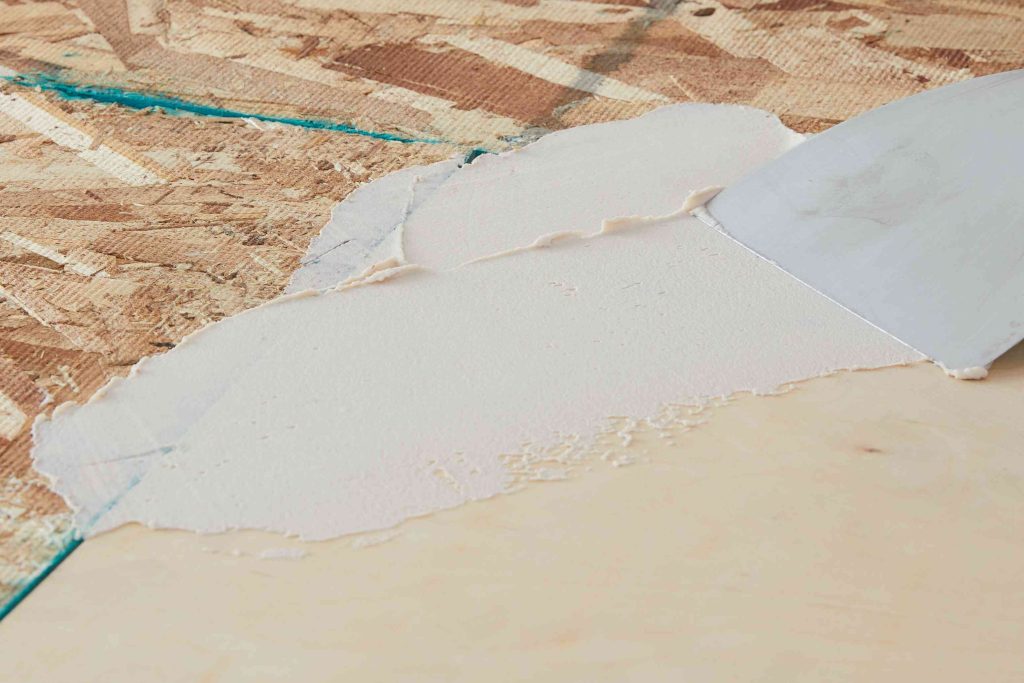
Mix self-leveling compound and trowel the mixture over the seams and screw heads. Allow the self-leveling compound to dry, then sand the seams and nail-heads smooth. Vacuum the entire floor before proceeding with the new floor installation.
Use Self-Leveling Compound to Correct Subfloor
Wide sags and depressions in a floor sometimes can’t be adequately bridged even by sheets of plywood, so it’s best to fill these areas with self-leveling compound. When mixed with water, the compound settles into low areas and dries to a smooth, level surface. Self-leveling compound comes in large pre-mixed buckets or in dry form that can be mixed with water.
-
Identify and Prepare the Low Spots
Mark the areas of the floor that need filling in to bring them level with the surrounding areas. A long straightedge works well to identify these low spots. If the manufacturer recommends it, apply a primer to these areas and allow it to fully dry.
-
Mix and Apply the Self-Leveling Compound
Mix the floor leveling compound with water in a bucket, following the manufacturer’s directions. Pour a generous amount of leveler onto the subfloor and spread it over the floor with a towel, allowing it to settle into low areas. The product will seek its own level (much like water), but it must be spread out so it covers the affected area without pooling.
-
Lightly Sand
Allow the leveler to dry completely, then sand off any high areas and vacuum away the dust. The surface does not need to be glass-smooth, but you should be able to draw a straightedge over the surface without noticing any wide gaps. Shining a work light across the surface as you check with a straightedge helps to identify any gaps you missed.
Reinforce Sagging Joist to Correct Subfloor
Where the cause of floor irregularities can be traced to a warped or broken floor joist below, it’s best to correct this structural problem to ensure the floor’s structural strength.
If you have access to the joists from underneath the floor, a sagging or cracked joist can be reinforced with a sister joist inserted alongside the bad joist and screwed to it. You may need to temporarily remove any cross blocking in order to move the sister joist into place. Ideally, the sister should be the same length as the bad joist, with one end resting on the foundation wall and the other on a support beam.
Because the subfloor may have sagged slightly, it may require some heavy hammering and prying to drive the new joist into place before you screw it to the old joist. When contractors do such work, they may brace or slightly lift the floor with adjustable steel columns before sistering the bad joist into place alongside the new framing member.
When to Call a Professional
If your evaluation of the floor shows that the room, as a whole, slopes to the side or middle, the repair project is usually a major one requiring the assistance of a contractor. Such large-scale sloping often means there is a structural problem with a foundation wall, a center support beam, or both. A contractor, in consultation with a building engineer, is usually the best option in such situations.
A professional contractor may also be the logical choice in some cases where a floor joist needs to be repaired or reinforced. Reinforcing a bad joist can be done by a do-it-yourselfer where there is easy access to the floor from below—either in an exposed crawlspace or unfinished basement—but it can be quite complicated in second-story situations where the floor space is enclosed by a finished ceiling below. In these cases, floor joist repair may require that you open up the ceiling below, and such a project is beyond the comfort level of many do-it-yourselfers.
If you decide to undertake the project by yourself, it may be helpful to consult with a structural engineer to make sure that you are staying within load limits for your intended repairs.
-
How much does it cost to have a floor leveled?
The cost depends on the scope of the project. If you are replacing a subfloor or evening out high spots in an existing subfloor and there are no other structural issues creating problems, the cost is minimal. The higher costs come when the issue is structural and requires jacking, which means you need to contact a general contractor or a foundation repair specialist.
-
How do you level a concrete floor?
If you have a concrete slab as your subfloor, or you have a lumpy concrete floor, it may have some high spots that you can grind out using a concrete grinding tool (angle grinder). If you have a concrete subfloor or floor with low patches, you can use a liquid floor leveling product made for concrete floors. If you are very lucky, you may only need to use a concrete resurfacing product.
-
Does a subfloor have to be perfectly level?
Although no subfloor is perfectly level, you should always try to get it as perfectly level as possible. This is important especially if you are installing very thin, flexible flooring like luxury vinyl tile (LVT).
Read the full article here
