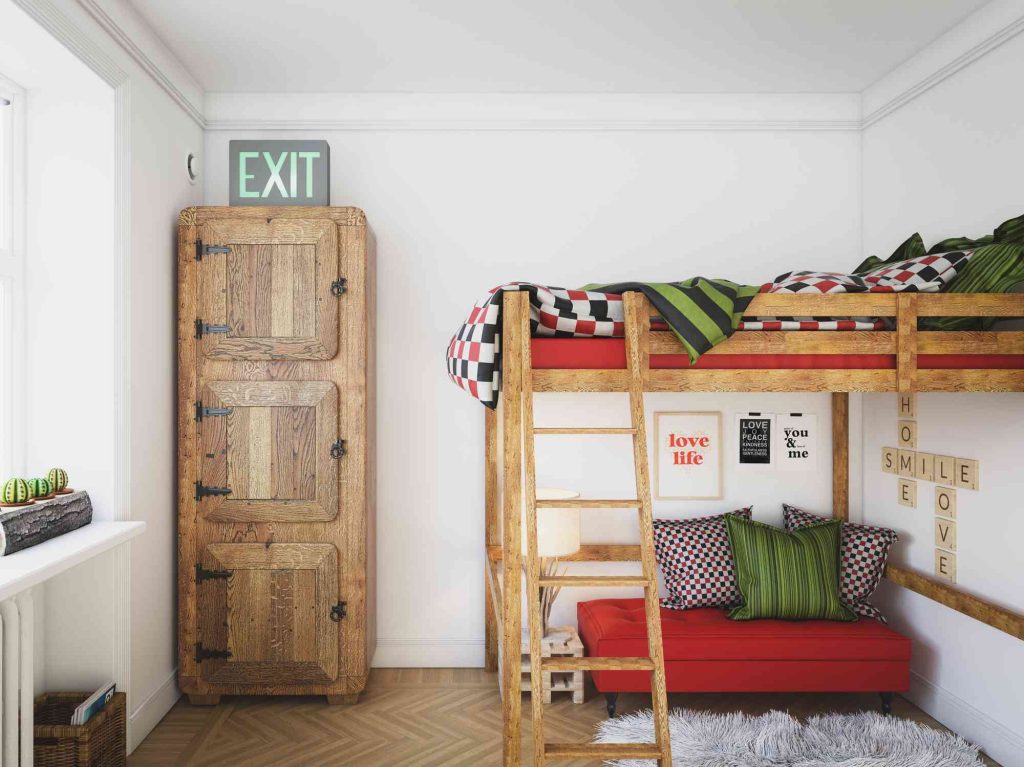
Bunk beds are great space-savers in kids’ rooms. Not only do they double up room occupancy, but kids love them. With hooks at the top, bunk bed ladders easily detach for cleaning. Make your own DIY bunk bed ladder with just three two-by-sixes, wood screws, and the wood coating of your choice.
Before You Begin
With five wide steps, this DIY bunk bed ladder is angled at 75 degrees (15 degrees off vertical), the standard angle for tilted bunk bed ladders. You’ll need that angle because metal bunk bed ladder hooks tilt off-plumb at 15 degrees, too.
This DIY bunk bed ladder can easily be modified for the three most common bunk bed loft heights: 65, 68, or 70 inches.
Choose prime whitewood when building a simple bunk bed ladder, as if for a cabin. For kids’ bedrooms, pick prime cedar since this is smoother and is better for staining or clear-coating.
Safety Considerations
Made with two-by-six lumber, this DIY bunk bed ladder emphasizes strength and safety. Be sure only to use metal bunk bed ladder hooks. Do not improvise with other hardware. Thoroughly sand down the wood to prevent splintering.
What You’ll Need
Equipment / Tools
- Electric circular saw
- Electric miter saw
- Drill
- Drill bits and drivers
- Bubble or phone level app
- Sander
- Speed Square (option)
- Pencil
Materials
- 3 two-by-sixes, premium
- Bunk bed ladder hooks (angled)
- Felt feet
- Interior paint or stain and protective coating
Instructions
-
Lay Out the Wood for the Stringers
Lay out two of the two-by-sixes so that you are viewing them lengthwise side by side. These will be the stringers. While marking the wood, always keep the two-by-sixes situated this way to stay organized.
On one of the two-by-sixes, use the pencil to designate the short end closest to you as the bottom (B) and the opposite short end as the top (T). Mark the left long side (L) and the long opposite side as right (R).
-
Mark the Center Line of the Stringers
On one of the one-by-sixes, draw a centerline down the length of the board (at 2-3/4 inches). Do this for both sides. Repeat for the other two-by-six.
-
Mark the Cut Top of the Stringers
Mark the triangular cut-outs where the tops of the stringers will rest against the top bed rail.
At top of one of the two-by-sixes, mark 2-1/2 inches from right to left. Along the right side, mark 8-1/2 inches from top to bottom. With the straightedge, connect the two marks. Repeat for the other two-by-six.
-
Mark the Stringer Feet
Mark the angled feet at the bottoms of the stringers. On one of the two-by-sixes, make the following marks, from the bottom upward.
Bunk Bed Height Mark Up Left Side Mark Up Right Side 65 inches 27-1/2 inches 29-1/4 inches 68 inches 24-1/2 inches 26-1/4 inches 70 inches 22-1/2 inches 24-1/4 inches With the straightedge, connect the two marks. Repeat for the other two-by-six.
Cut the Stringer Tops and Feet
Use the circular saw to cut the stringer top and bottom marks. Repeat for the other board.
Cut the Ladder Steps (Treads)
With the electric miter saw, cut the steps (or treads) of the bunk bed ladder from the third two-by-six. Cut the two-by-six into five equal pieces, each piece 19 inches long.
Mark the Step Locations on the Stringer
Starting at the top of one of the stringers and measuring downward on the centerline that you made earlier, make five marks. The marks should be 12 inches away from each other.
Drill the Holes for the Ladder Steps
Lay one stringer on top of the other. Clamp them firmly together. Drill at each of the five marks, completing the hole through both stringers.
Drill Pilot Holes on the Ladder Steps
At the end of each of the ladder step, drill a pilot hole at the center of each end (2-3/4 inches horizontally and 3/4-inch vertically).
Sand the Wood
Sand off rough sections of the wood. Be sure to sand down sharp corners and edges.
Coat the Wood
Paint or stain the wood with two coats of interior latex paint or stain and protective coating. Do not coat the ends of the ladder steps or the bottoms of the stringer feet.
Add the Ladder Hooks
When the coating is dry, screw the bunk bed ladder hooks to the tops of the stringers on the sides that will be facing the bed.
Add the Bottom Step to the Stringers
Hook the stringers over the side of the bunk bed’s top loft. Place the stringers 19 inches apart. Starting at the top, drive a screw through one of the stringers into the edge of one of the steps. Repeat for the other side. Keep the screws a bit loose for now. Add the remaining four steps.
Level Out the Steps
On the top step, place the bubble level or a phone app level. Level the step by tilting it up or down as needed. Tighten the center screws on both sides. Then add two more pilot holes and screws on either side of the center screw. So, each step should be held by six screws. Finish the remaining steps in the same manner.
Add the Felt Feet
Remove the bunk bed ladder. Lay it on its side. Add the felt to the bottoms of the ladder feet.
Read the full article here


