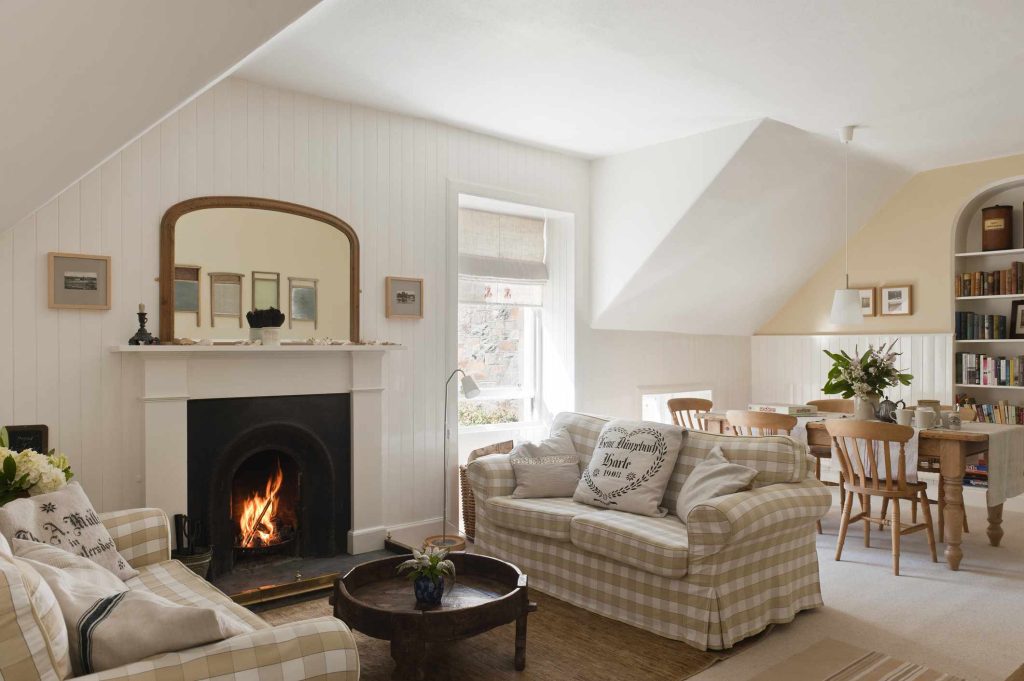
A fireplace surround adds crisp lines and a finished look to any type of fireplace—wood-burning, gas, gel, and even faux fireplaces. Building this DIY fireplace surround takes just a few hours. That’s because it uses one-by-four and one-by-six boards, eliminating complicated lengthwise board cuts. Only end cuts with a miter saw are needed.
Before You Begin
Two narrow vertical pieces form the sides of the surround and one wide horizontal piece rests on top. Essentially three-sided hollow boxes, these pieces attach to the wall with a simple hidden cleat system. After those pieces are established, the rest is just trim work. Thin trim, applied to the face, serves two purposes: to cover board seams and to decorate the surround.
This DIY surround is endlessly adaptable with any kind of trim you’d like: corbels, crown molding, plinth blocks, rosettes, and more. A great fireplace surround is one that complements the era and aesthetic of the home.
Safety Considerations
Because wood is combustible, fire code specifies minimum distances between the edge of the fireplace opening and the inner edge of the surround. “Woodwork, such as wood trim, mantels, and other combustible material shall not be placed within 6 in. (152 mm) of a fireplace opening.” For this project, this means that the side pieces will stay 6 inches away from the edge of the firebox.
“Combustible material above and projecting more than 1-1/2 in. (38 mm) from a fireplace opening shall not be placed less than 12 in. (305 mm) from the top of the fireplace opening. “For this project, the top horizontal piece will project 5-1/2 inches from the wall, so it will be mounted 12 inches from the top of the firebox.
What You’ll Need
Equipment / Tools
- Electric miter saw
- Cordless drill
- Countersink bit
- Electric nailer
- Eye and hearing protection
- 3 bar clamps
Materials
- 4 one-by-fours, each 8 feet long
- 4 one-by-sixes, each 8 feet long
- 2 plinth blocks, each 5 inches wide
- Primer
- Interior paint
- Wood glue
- 2-inch screws
- Trim, 1-inch wide
Instructions
-
Cut the Wood
Cut the pieces of wood as follows:
Type of Wood Length – Each Piece Quantity Purpose Piece # One-by-four 39 inches 6 Side pieces A One-by-four 36 inches 2 Cleats for side pieces B One-by-six 60 inches 3 Top piece C One-by-six 60 inches 1 Cleat for top piece D One-by-six 7 inches 2 End caps for top piece E Assemble the Side Pieces
Lay one 39-inch one-by-four (A) flat on a work table. Apply a thin bead of wood glue to its long edges. Lay two more 39-inch pieces (A) against the edges of the first piece. Tack the two pieces in place with the nailer. Turn the assembly upside-down, Wipe any excess glue off of the seams. Bar-clamp the side piece and check again for excess glue. Repeat for the other side piece.
Assemble the Top Piece
Build the top piece similarly to the side pieces. Lay one 60-inch one-by-six (C) flat and apply wood glue to the edges. Lay two more 60-inch pieces (C) against the edges, tack into place, turn over, and secure with the bar clamps.
Attach the Side Cleats
Attach one cleat (B) to the right side of the fireplace. The edge of the cleat must be 6 inches away from the edge of the opening and it must be vertical. Drill four pilot holes in the cleat. Then use the countersink bit to create recesses for the pilot holes. Screw into place with the 2-inch screws. Repeat for the left side.
Dry-Fit the Side Pieces to the Cleats
Slip the side pieces over the cleats. Slide the side pieces into their eventual positions. Tack each piece temporarily in place with a finish nail but do not attach yet.
Position the Top Cleat
Slip the top cleat (D) into the back of the top piece. The fit likely will be tight. Make sure that the cleat is even from side to side. Then, rest the top piece on top of the side pieces. If the positioning for all pieces looks correct, mark the position of the top cleat on the wall. You’ll be able to see the top cleat from the open sides of the top piece.
Attach the Top Cleat
Remove the top cleat from the back of the top piece. Attach the cleat to the wall, using your pencil marks for guidance.
Attach the Top and Side Pieces to the Cleat
Attach the top piece to the cleat. Make sure that the bottom of this piece meets the tops of the side pieces. Permanently nail all pieces in place by nailing from the side into the cleats.
Attach the End Caps to the Top Piece
Add a thin bead of wood glue to the ends of the top piece. Then nail the two 7-inch end caps (E) in place.
Attach the Trim to the Surround
- Plinth blocks: Nail the two plinth blocks onto the side pieces at the very bottom.
- Side trim: Measure the distance between the top of the plinth blocks and the bottom of the top piece. Cut four pieces of 1-inch trim to length and attach them to the side piece to cover the seams.
- Top trim: Create a picture frame-style trim assembly by mitering four pieces of trim at 45-degree angles and nailing to the front of the top piece. This will cover all board seams.
Prime and Paint
With a brush, prime the DIY fireplace surround, then cover with two or more coats of interior paint.
When to Call a Professional
This DIY fireplace surround is designed to be basic and easy to build. For surrounds that require complicated trim work, call a finish carpenter.
Read the full article here
