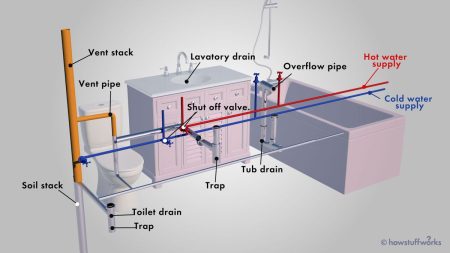
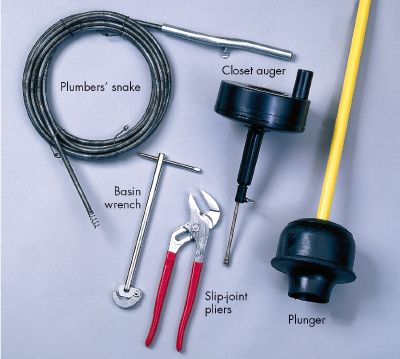
It’s important to keep drain traps, which are located under kitchen sinks and toilets, in good working order and leak free. Otherwise harmful sewer gases could infiltrate the house, causing infection and blocking drainage. Be sure to check the drain traps from time to time and repair broken pieces, such as a torn seal or a corroded metal pipe, promptly. There is no need to call a plumber to do the work; with a few household tools, you can easily replace a drain trap yourself.
The drain trap consists of three sections: the tailpiece, the trap itself and the drain extension. The tailpiece is connected to the drain outlet under the sink or toilet; the trap is the curved section that connects to the tailpiece; and the drain extension is the section connecting the trap to the wall or floor. Drain traps can be made of metal or plastic tubes. While metal is the cheapest and most common type of trap, it corrodes easily and needs to be replaced more frequently. Polypropylene plastic traps are noted for their longevity, whereas ABS plastic traps, made of lower-quality material, become misshapen over time from the constant flow of hot water and household cleaning chemicals.
To replace an old drain trap, first empty out the trap from standing water. If the trap has a handy cleanout plug underneath the curved section, remove it and let the water drain out. If not, you need to unscrew the slip nuts and remove the tailpiece in order to take out the curved section completely. Then take your old trap to a building supply store to match up the type and size of the trap. Back at home, connect the new parts loosely; tighten the screws once the pieces are correctly aligned. Finally, test the new drain trap for leakage by running water through it.
Read the full article here

